21 Under Kitchen Sink Organization Ideas That Work
Under Kitchen Sink Organization Ideas can make one of the messiest cabinets in the kitchen much easier to use. With the right mix of bins, drawers, racks, and vertical storage, bottles, sponges, trash bags, and cleaning tools can each have a designated spot.
These solutions work for homeowners, renters, families, and apartment dwellers, whether you have a wide cabinet or a compact one. The goal is not to fill every inch, but to create an arrangement that keeps everyday supplies visible, accessible, and easy to put away.
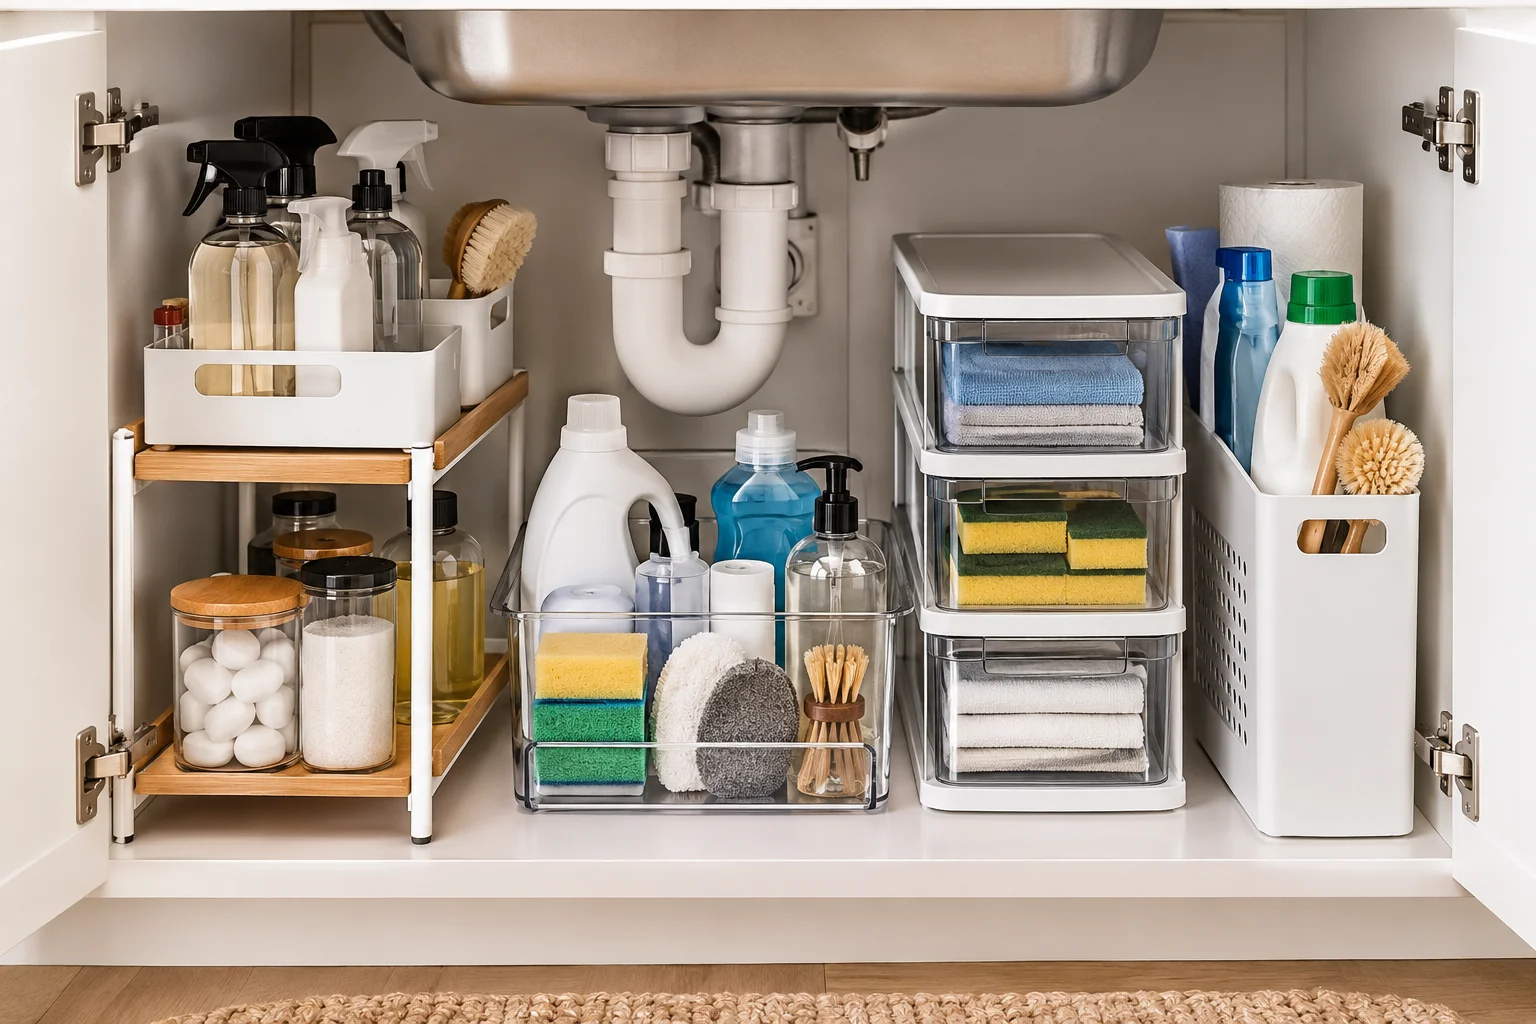
1. Two-Tier Pull-Out Organizer

A two-tier pull-out organizer creates separate levels inside a cabinet that would otherwise leave items stacked behind one another. The lower shelf can hold larger bottles and refill containers, while the upper tier keeps smaller sprays, cloths, or brushes within reach. A slim metal or plastic frame also leaves some visual breathing room around the plumbing.
For a standard cabinet, measure around the sink pipes before buying. Choose a model that fits beside or around the plumbing rather than forcing everything into a single deep shelf. A neutral white, black, or stainless finish keeps the interior looking neat, while removable trays make spills easier to clean.
2. Stackable Storage Bins
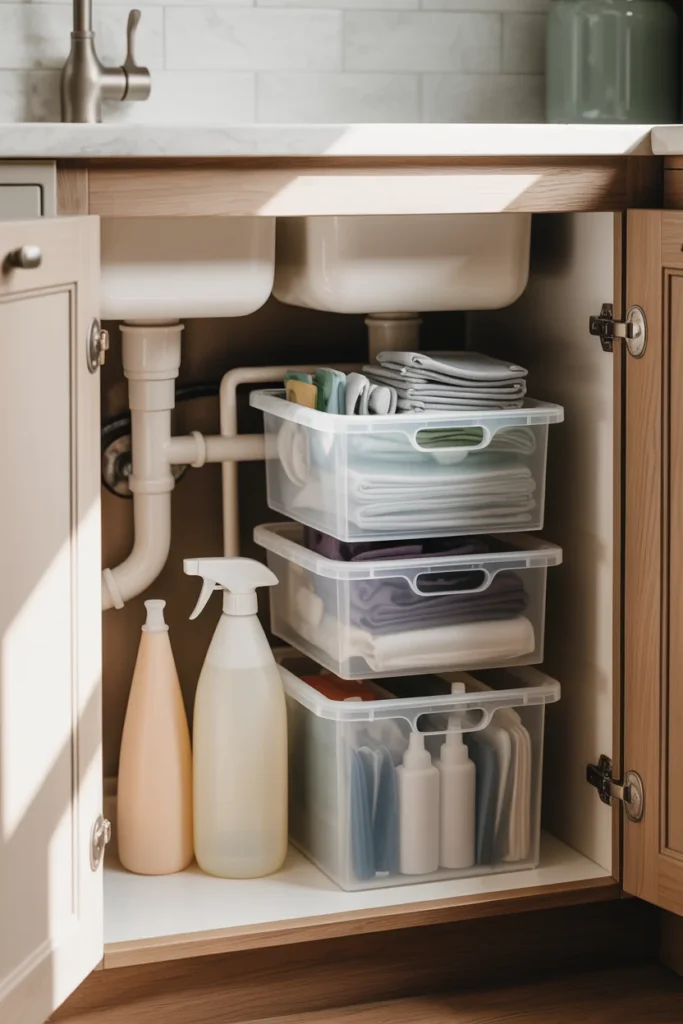
- Best use: Grouping small cleaning supplies, extra cloths, and refill products.
- Materials: Plastic bins with solid or ventilated sides are practical for a damp cabinet.
- Placement: Put heavier items on the bottom and lighter supplies above.
- Color: Clear, white, or soft neutral bins keep the cabinet visually calm.
- Budget: Basic stackable containers are an inexpensive way to add vertical storage.
Stackable bins work especially well when the cabinet has plenty of height but limited shelf space. Choose containers that can be lifted out individually, rather than creating a tower that has to be dismantled whenever you need something from the bottom. Grouping similar products also makes restocking much simpler.
3. Tension Rod Storage

Quick Tip: Install a sturdy tension rod across the upper portion of the cabinet to hang spray bottles by their trigger handles. Leave enough clearance below for larger containers and keep the rod away from plumbing connections.
The result is a useful second storage level without drilling into the cabinet. It also keeps spray bottles upright and visible instead of allowing them to crowd the floor. Choose a rod with enough weight capacity for the products you use, and leave one side accessible so bottles can be removed easily.
4. Pull-Out Drawers
BEFORE
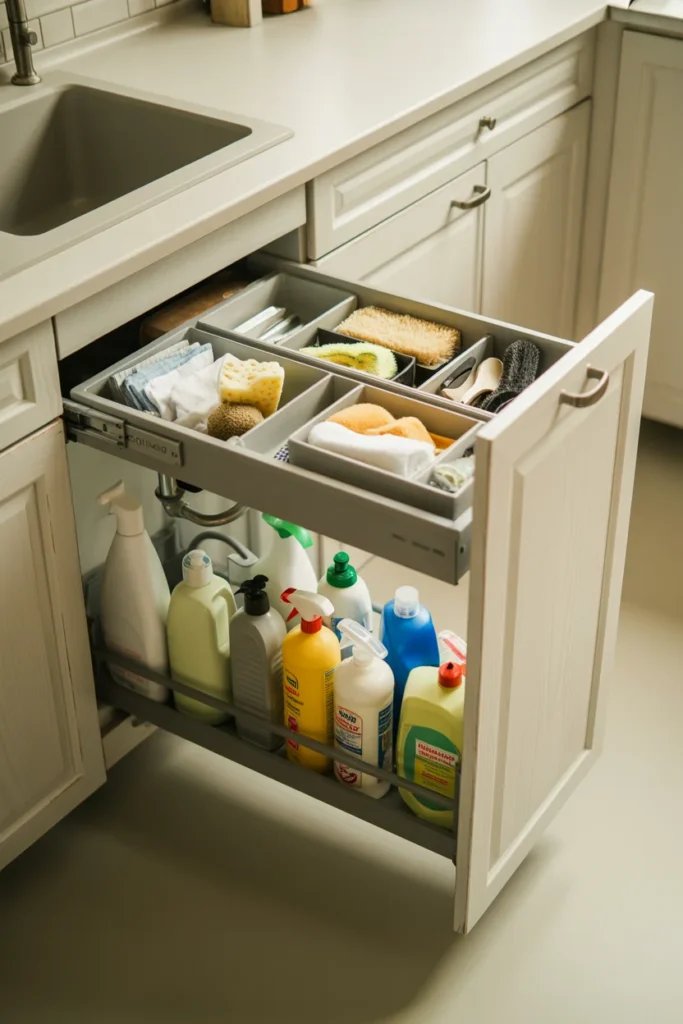
A deep cabinet can become difficult to manage when bottles are pushed toward the back. Items disappear behind one another, and reaching for a cleaner often means moving several products first.
AFTER
A pull-out drawer brings the contents toward you. Place everyday cleaners on the front portion and less frequently used refills farther back. A shallow drawer can also separate small accessories from tall bottles.
For the best fit, measure the cabinet’s interior width, depth, height, and plumbing clearance first. A drawer with a low front edge makes its contents easy to see, while a removable liner can protect the cabinet from minor spills.
5. Clear Acrylic Bins
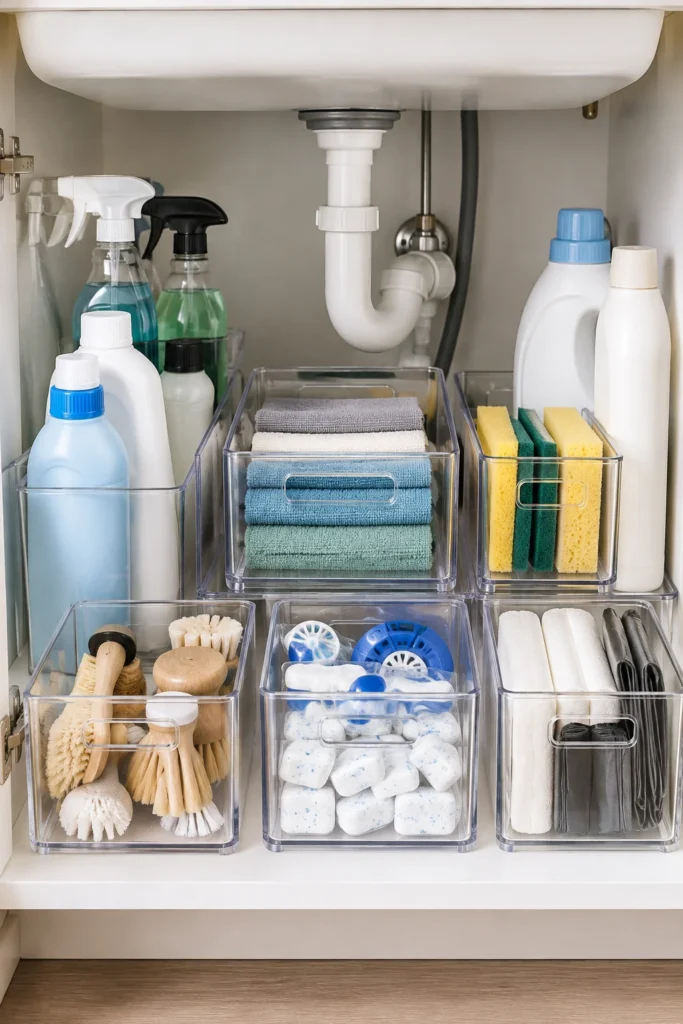
- Measure the cabinet floor. Check the width around the sink plumbing before selecting containers.
- Group similar products. Keep dishwasher supplies, surface cleaners, and cloths in separate bins.
- Choose manageable sizes. Smaller bins are easier to lift out when the cabinet is full.
- Leave a little space. Avoid packing containers so tightly that removing one disrupts everything around it.
Clear acrylic bins are useful when you want to see exactly what is inside without opening multiple containers. They suit kitchens with a clean, streamlined look and are especially practical for frequently used small products. Wipe them occasionally to prevent dust or residue from building up.
6. Sponge Containers

| Feature | Open Sponge Holder | Covered Container |
| Airflow | Better ventilation | Less airflow |
| Appearance | Easy to see contents | More concealed |
| Cleaning | Quick to rinse | Requires regular wiping |
| Best for | Frequently used sponges | Extra or backup sponges |
A small container gives sponges, scrubbers, and small brushes a defined home rather than letting them collect loosely around the cabinet. An open design can be useful for frequently used damp items, while a covered container may suit clean backups. Keep the container toward the front for convenient access.
7. Cabinet Door Hooks
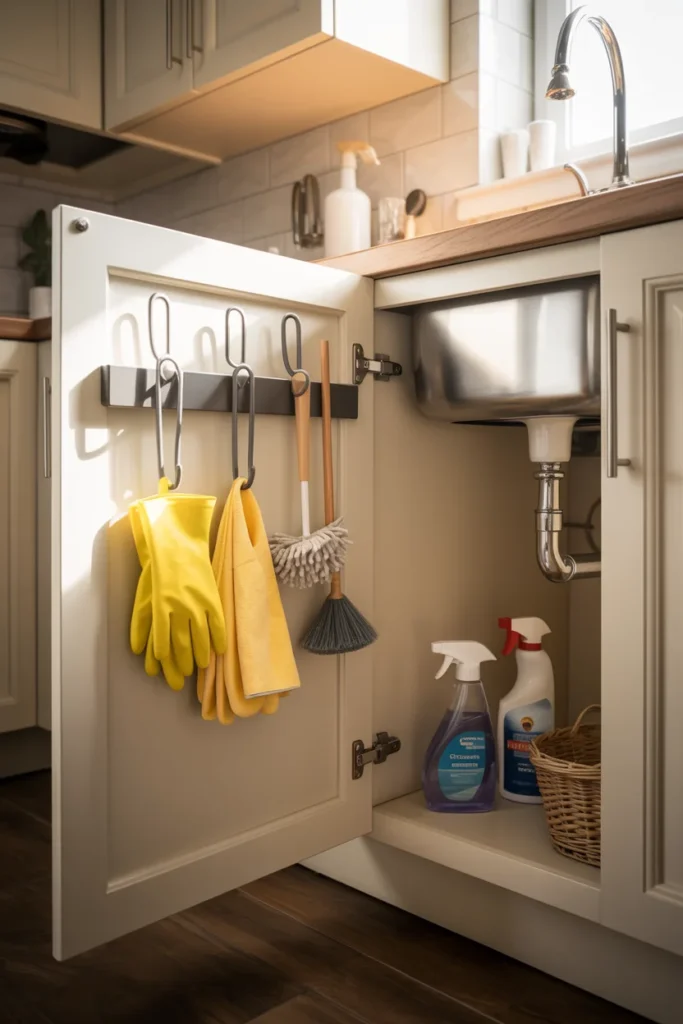
DO:
- Use adhesive hooks for lightweight brushes, gloves, or reusable cloths.
- Place hooks where they will not interfere with shelves or plumbing.
- Keep frequently used tools at an easy-to-reach height.
- Check the adhesive manufacturer’s weight recommendation.
DON’T:
- Hang heavy bottles from lightweight hooks.
- Place hooks where the cabinet door cannot close completely.
- Crowd several bulky tools onto one small area.
- Attach adhesive storage to a damp or dirty surface.
Door-mounted hooks turn an otherwise unused vertical surface into storage. This works particularly well for thin cleaning gloves, microfiber cloths, dusters, and small brushes. Before installing anything, clean and dry the cabinet door thoroughly and check the clearance when the door swings shut.
8. Slim Sliding Organizer
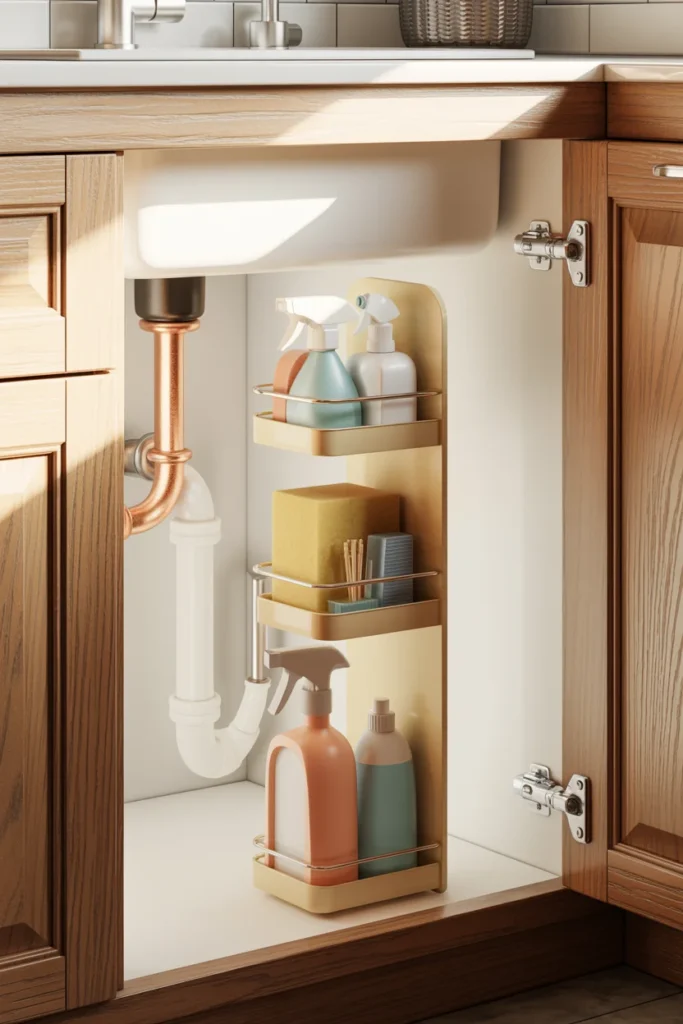
Room: Kitchen sink base cabinet
Space Needed: A narrow vertical section beside plumbing
Budget: Low to moderate
Difficulty: Beginner
Best For: Tall bottles and narrow cabinets
Material: Plastic, coated metal, or bamboo
Maintenance: Remove and wipe regularly
A slim sliding organizer makes use of the narrow spaces that often remain beside pipes or cabinet walls. Choose a model with a stable base and enough height for your tallest bottles. A handle or open frame makes it easier to pull the organizer forward, especially in a deep cabinet.
9. Cleaning Supply Zone

A dedicated cleaning zone makes the cabinet easier to maintain because every category has a logical place. Keep surface sprays together, place dishwashing supplies in another container, and reserve one area for cloths, gloves, and brushes. Using a few coordinated bins can visually divide the cabinet without adding permanent shelves.
This approach works particularly well for busy households where several people use the same supplies. Put the products used every day toward the front and backup items farther back. If the cabinet is shared with plumbing access, keep the area around pipes open rather than turning the zone into a tightly packed storage wall.
10. Trash Bag Dispenser
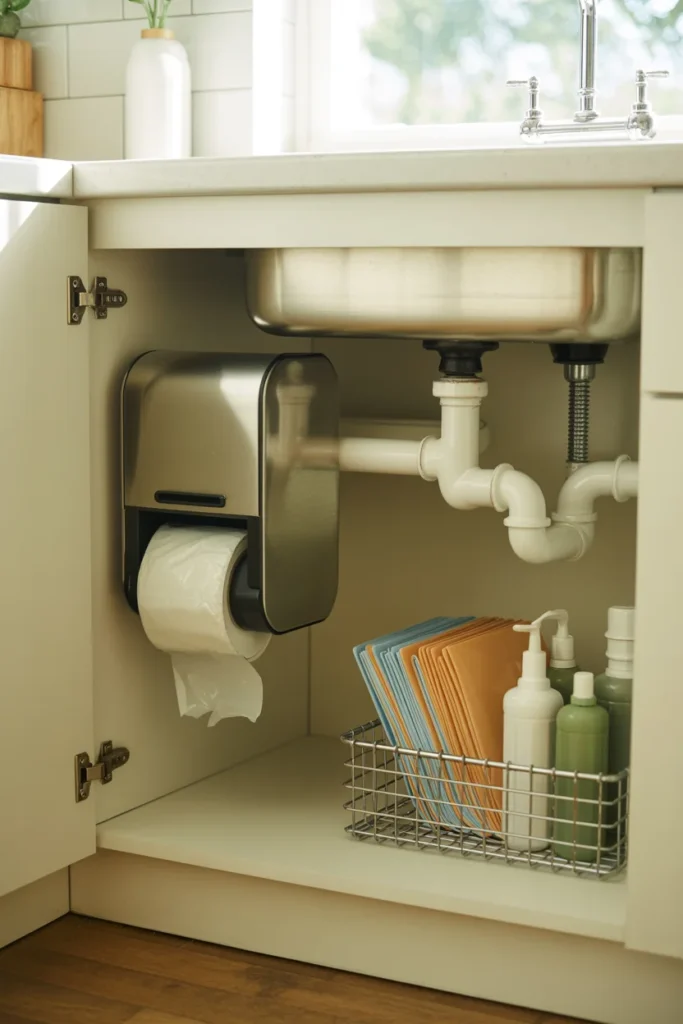
A wall-mounted or freestanding dispenser keeps trash bags together instead of allowing rolls to become buried beneath cleaning products. Position it toward one side of the cabinet where the roll can be replaced without removing other supplies. A compact dispenser can also fit inside a narrow cabinet beside a pull-out organizer.
Choose a design that allows bags to tear off smoothly and leaves enough clearance around the roll. If you keep recycling bags or food storage bags nearby, give each type a separate location. This small change can save time during everyday kitchen cleanup.
11. Stackable Wire Baskets

Quick Tip: Use wire baskets when you want storage that remains visually open. Place heavier refills in the lower basket and lighter accessories above, while leaving enough space to lift each basket out.
The open sides make it easier to spot bottles and supplies without opening a solid container. Wire baskets are also useful when the cabinet needs occasional ventilation around stored cleaning tools. Choose baskets with handles if you regularly need to remove an entire category at once.
12. Lazy Susan Storage

A lazy Susan works well for small bottles and products that tend to disappear into the back corners. Place it toward one side of the cabinet and group similar supplies around its circular surface. Rotating the tray brings the back items forward without requiring you to reach deep into the cabinet.
Look for a model with a raised edge so bottles stay secure as the tray turns. A smaller diameter is usually easier to manage around sink plumbing. For maintenance, remove the entire tray occasionally and wipe both the surface and cabinet underneath it.
13. Door-Mounted Storage Rack
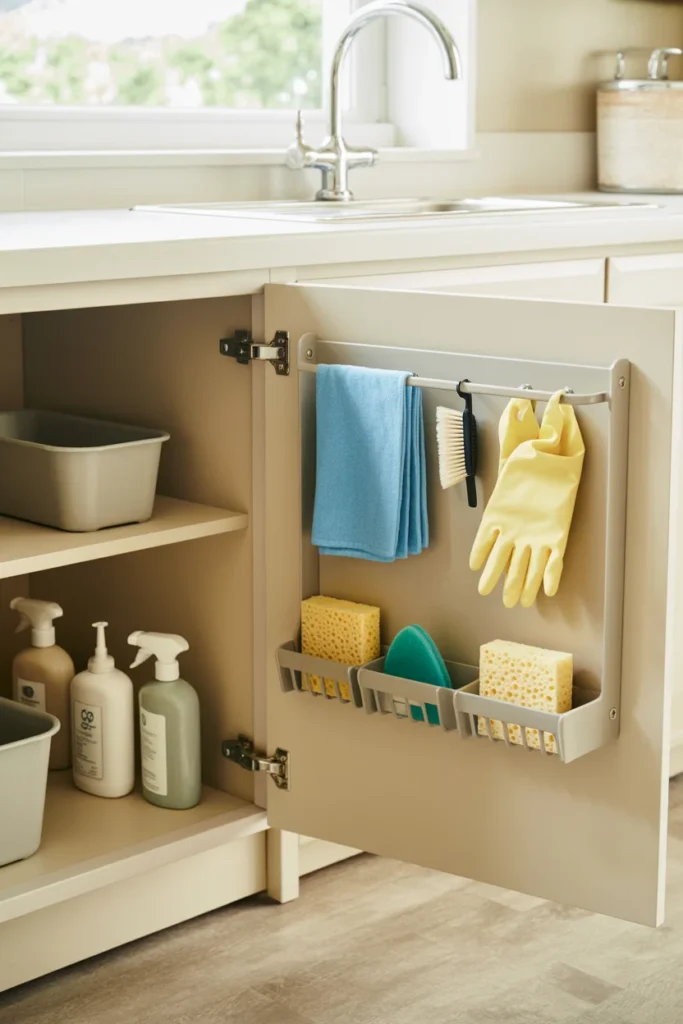
BEFORE
The cabinet floor is crowded with bottles, while the inside of the door sits completely unused. Small brushes and lightweight accessories end up scattered between larger containers.
AFTER
A slim door-mounted rack creates another storage layer without taking up the main cabinet floor. Use it for gloves, cloths, sponges, scrub brushes, or other lightweight items that are easy to retrieve.
Check the rack dimensions against the cabinet door and interior shelves before installation. The door needs enough clearance to close without pressing against stored items. For renters, removable adhesive versions can provide extra organization without permanent hardware.
14. Dishwasher Pod Container
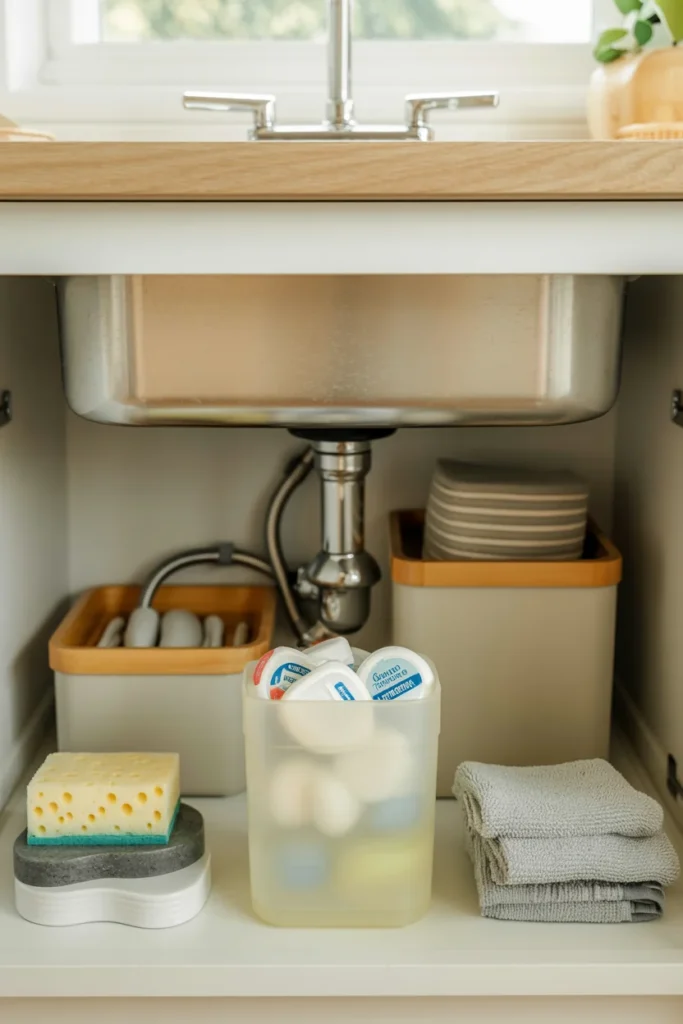
- Select a secure container. Use a sealed container specifically suitable for storing dishwasher detergent pods.
- Choose a visible location. Keep it toward the front or on an accessible shelf.
- Separate it from loose items. Avoid mixing detergent pods with sponges, cloths, or other supplies.
- Keep the container dry. Moisture can affect detergent products and make the storage area messy.
A dedicated container gives dishwasher pods a defined home and keeps loose packaging out of sight. A compact, clearly identified container can also make the cabinet look less cluttered. Keep detergent products securely stored and follow the product label’s storage instructions.
15. Small Bins for Sponges
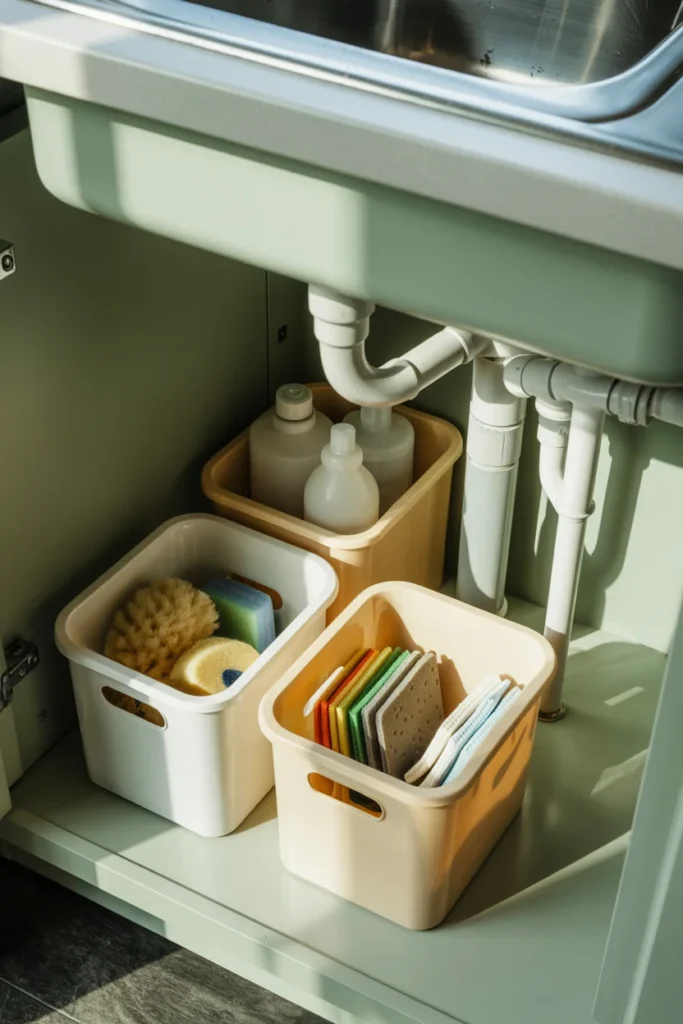
| Storage Option | Ideal Contents | Visual Effect |
| Small open bin | Everyday sponges | Easy access |
| Divided container | Sponges and scrubbers | More organized |
| Lidded bin | Backup supplies | More concealed |
| Narrow basket | Cloths and gloves | Soft, flexible storage |
Small bins are useful when tiny cleaning accessories are creating most of the clutter. Rather than dedicating an entire large container to a few sponges, use compact organizers that fit neatly beside larger bottles. Grouping items by purpose makes it easier to find replacements before the current supply runs out.
16. Simple Storage Labels
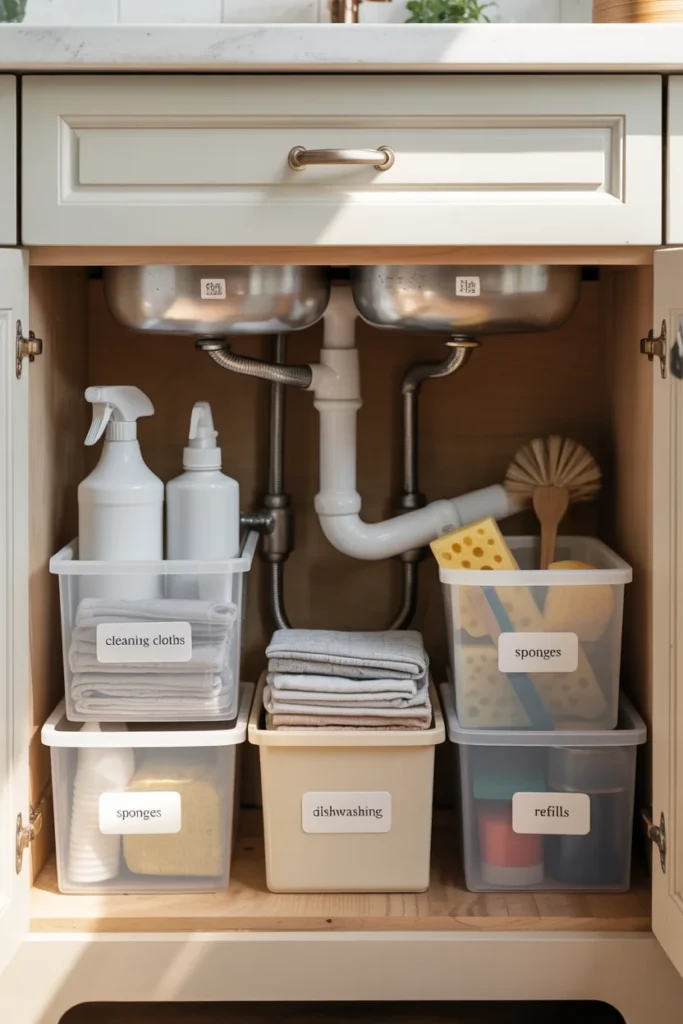
DO:
- Label bins by category, such as cloths, dishwashing, or surface cleaning.
- Keep labels short enough to read at a glance.
- Use a consistent typeface or label style for a cohesive appearance.
- Place labels on the front or top edge of containers.
DON’T:
- Create overly specific labels that become outdated.
- Label every individual product unnecessarily.
- Use labels in places that are hidden from view.
- Fill containers beyond their practical capacity.
Labels are most useful when several similar containers are stored together. A simple black-and-white label system can give the cabinet a tidy appearance without adding visual clutter. They are also helpful in shared households because everyone can quickly return supplies to their designated location.
17. Separate Cleaning Zones

Room: Kitchen utility cabinet
Main zones: Dishwashing, surface cleaning, tools, refills
Color palette: Clear containers with neutral labels
Storage style: Mixed bins and vertical holders
Best placement: Frequently used products at the front
Separating supplies into functional zones prevents the cabinet from becoming one large collection of unrelated products. Keep liquids together, tools together, and backups in a less accessible area. If the cabinet is large, use containers or shelf dividers as visual boundaries rather than installing permanent partitions.
18. Adjustable Shelf Organizers

- Measure first. Check the cabinet width and the height available around the plumbing.
- Choose adjustable storage. A shelf riser that can change height gives more flexibility as supplies change.
- Place smaller items above. Use the upper level for cloths, sponges, or short containers.
- Keep tall bottles below. Make sure their height remains accessible without removing the shelf.
- Test the arrangement. Open and close the doors to confirm nothing catches or blocks the pipes.
Adjustable organizers are useful when the contents of your cabinet change frequently. Instead of committing to one fixed configuration, you can reposition the shelves as products are used up or replaced. This makes the cabinet easier to adapt over time without starting the organization process from scratch.
19. Vertical Cleaning Tools
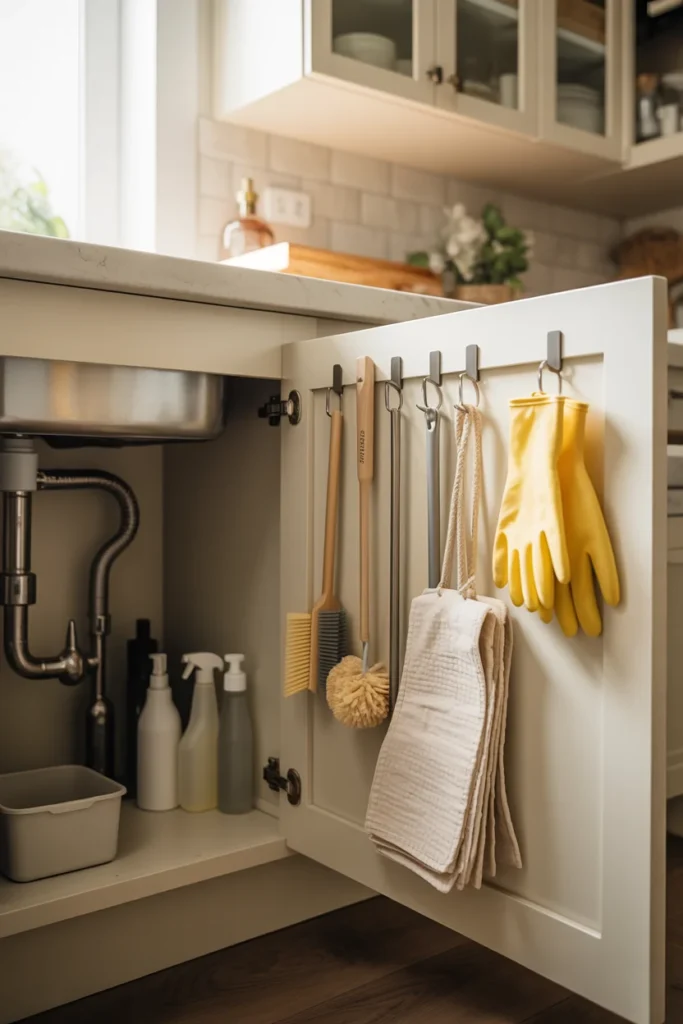
| Tool Type | Storage Method | Main Benefit |
| Cleaning brush | Narrow holder | Keeps handles upright |
| Rubber gloves | Door hook | Easy to grab |
| Microfiber cloth | Small basket | Keeps fabric grouped |
| Long scrubber | Side-mounted clip | Uses vertical space |
Storing cleaning tools vertically prevents long handles from taking over the cabinet floor. Use clips, hooks, or narrow holders along the cabinet side or door where appropriate. Keep damp tools separated from dry cloths, and allow reusable items to dry according to their material and care requirements.
20. Clear Plumbing Access

Quick Tip: Treat the plumbing area as a protected zone rather than filling every available inch. Leave visible clearance around pipes, valves, and connections so you can inspect them quickly if a leak occurs.
A well-organized cabinet should still allow easy access beneath the sink. Keep heavy bins away from plumbing connections and avoid storing products where they could obstruct shutoff valves. This arrangement may leave a little unused space, but that space has an important practical purpose.
21. Matching Storage Bins

BEFORE
Mismatched containers, loose bottles, empty packaging, and scattered accessories can make the cabinet feel crowded even when there is enough actual storage. Different container sizes also make stacking difficult.
AFTER
Matching bins create a more consistent visual system and make categories easier to define. Use a few sizes that fit the cabinet rather than buying an assortment of containers that waste space. Keep the most frequently used bins toward the front.
For a polished look, choose one neutral material or color throughout the cabinet. White, clear, black, or soft gray containers can coordinate with most kitchen finishes. Prioritize practical dimensions over appearance, especially around sink plumbing.
How to Keep the Space Organized
A tidy under-sink cabinet depends more on simple habits than on buying a large number of organizers.
- Measure before adding storage: Record the cabinet’s width, depth, height, and plumbing clearance.
- Keep categories together: Store dishwashing supplies, surface cleaners, tools, and refills in separate zones.
- Leave plumbing accessible: Never block pipes, shutoff valves, or areas that need inspection.
- Use the vertical space: Hooks, tension rods, stackable bins, and shelf risers can create additional levels.
- Keep everyday products reachable: Place frequently used items at the front or on pull-out storage.
- Clean before reorganizing: Remove everything periodically and wipe the cabinet interior before putting supplies back.
- Check products regularly: Dispose of empty containers and replace damaged or leaking bottles promptly.
- Avoid overfilling: A cabinet that is technically full but difficult to access is not functioning efficiently.
Common Under-Sink Organization Mistakes to Avoid
The biggest mistake is trying to use every available inch without considering access. A cabinet needs enough open space for you to reach the plumbing and remove storage containers comfortably.
Another common problem is choosing organizers before measuring. A beautiful bin is not useful if it blocks a pipe or prevents the cabinet door from closing.
Avoid placing incompatible supplies together simply because they fit. Cleaning products should remain in their original containers when appropriate, and household chemicals should be stored according to their labels. Keep products away from children and pets, and never mix cleaning chemicals.
Finally, do not create an organization system that requires too many steps to maintain. The best setup is one that makes it obvious where each item belongs.
Final Thoughts
The most useful Under Kitchen Sink Organization Ideas combine accessibility with practical storage. Pull-out organizers, stackable bins, door hooks, narrow racks, lazy Susans, and labeled containers can each solve a different problem inside the cabinet. You do not need to use all 21 ideas.
Start by measuring the space, identifying what you use most, and choosing storage that works around your plumbing. A simple system that stays easy to maintain will serve you better than an overfilled cabinet. Save this guide for your next kitchen organization project and adapt the ideas to your available space, budget, and daily routine.
FAQs
1. How do I organize the space under my kitchen sink?
Start by removing everything and measuring the cabinet around the plumbing. Group similar products together, then use bins, pull-out organizers, hooks, or shelf risers to create separate zones. Keep frequently used supplies accessible and leave the plumbing area clear.
2. What should I not store under the kitchen sink?
Avoid storing items that can be damaged by leaks or moisture, such as paper goods and sensitive household materials. Keep chemicals securely stored according to their labels and away from children and pets. Do not block pipes, shutoff valves, or other plumbing components.
3. How can I organize a small under-sink cabinet?
Use the vertical space rather than relying only on the cabinet floor. Slim sliding organizers, tension rods, door-mounted racks, hooks, and stackable bins can help separate supplies without requiring a large footprint. Measure carefully before purchasing any organizer.
4. What containers work best for under-sink storage?
Clear plastic bins, stackable containers, wire baskets, and small divided organizers are practical choices. Select sizes that fit around the plumbing and are easy to remove. Containers with handles can be particularly convenient for grouping supplies that you need to take out regularly.
5. How do I keep cleaning supplies organized under the sink?
Divide supplies into categories such as dishwashing products, surface cleaners, cleaning tools, sponges, and refills. Give each category a designated container or zone. Labels can help in shared households, while regular decluttering prevents the cabinet from becoming overcrowded.