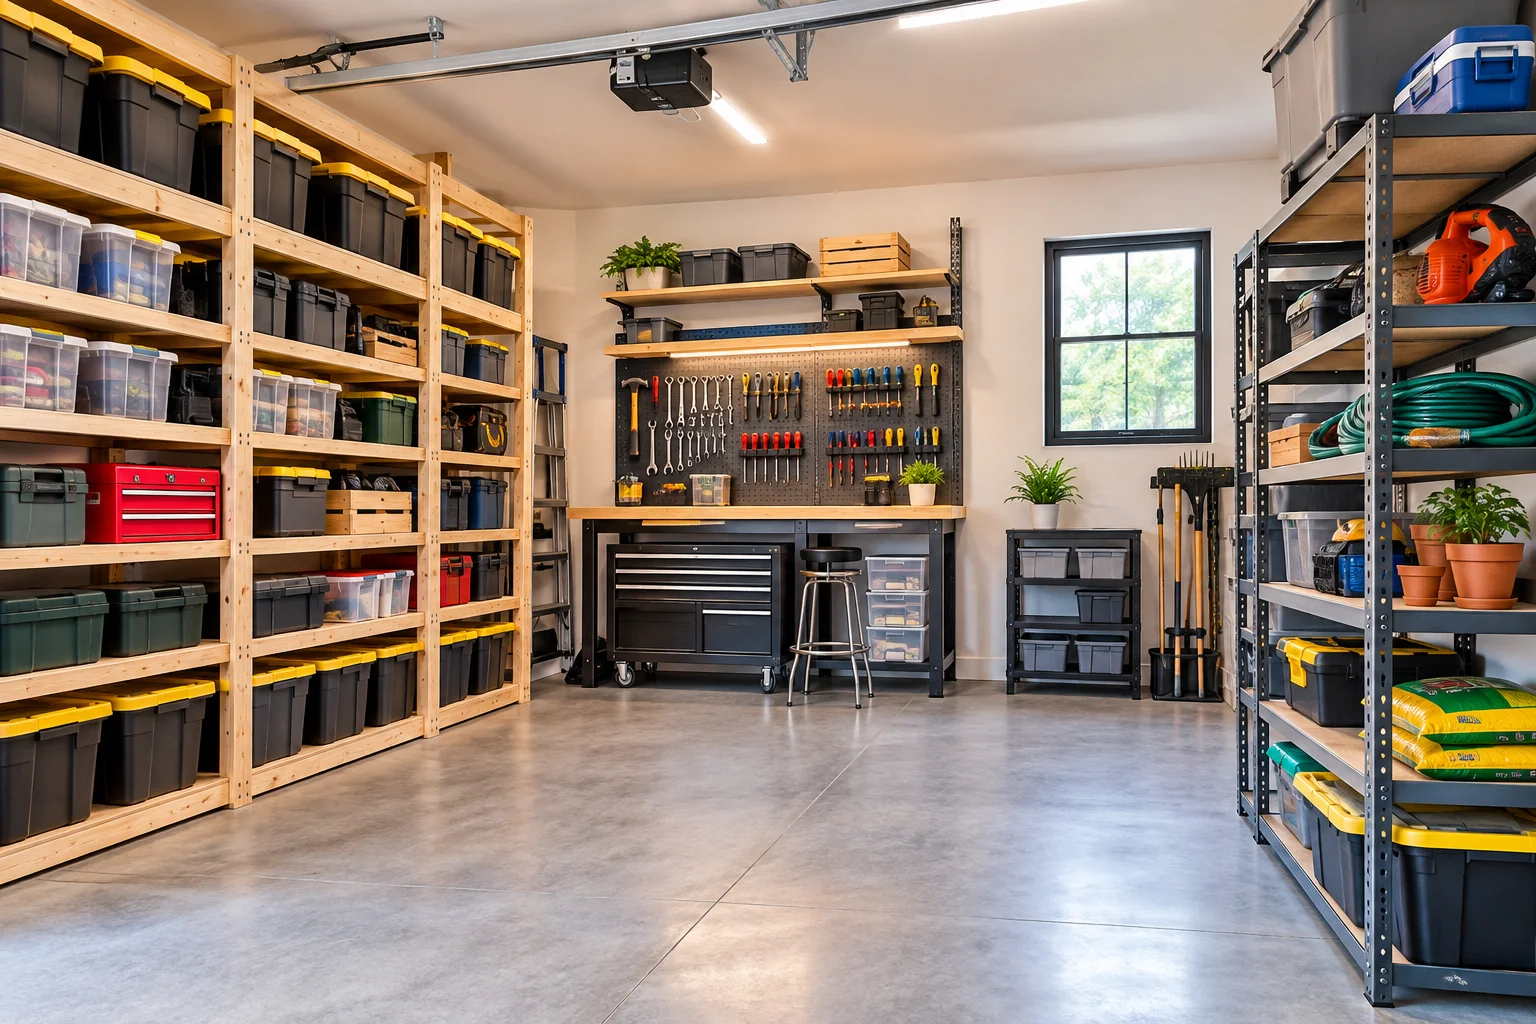
21 DIY Garage Shelving Ideas to Maximize Every Inch of Space
A messy garage can make even simple tasks feel frustrating. I’ve found that the right shelving can completely change how a garage looks and functions. From simple wooden shelves to clever corner storage, these DIY garage shelving ideas help you use wasted wall space, organize tools, and keep everything within reach.
Whether your garage is large or compact, there’s a practical solution here for you.
1. Simple Wall-Mounted Wooden Shelves
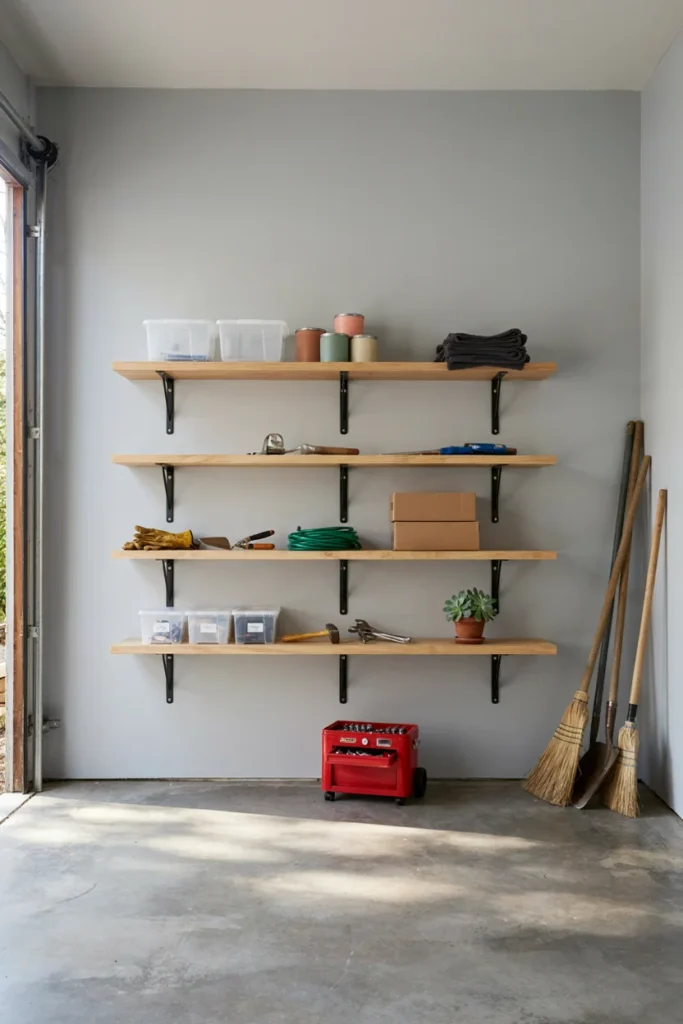
Simple wall-mounted wooden shelves are one of the easiest ways to add useful storage without taking up valuable floor space. I love this option for garages that need a quick makeover without a complicated building project. You can install sturdy wooden boards along an empty wall and use them to store paint cans, gardening supplies, boxes, and everyday tools.
Choose strong brackets and attach them securely to wall studs whenever possible. For a neat, coordinated look, you can stain the wood or paint it to match your garage.
- Use thick boards for better support.
- Leave enough space between shelves for easy access.
- Add labeled storage boxes to keep smaller items organized.
2. Heavy-Duty Garage Shelving
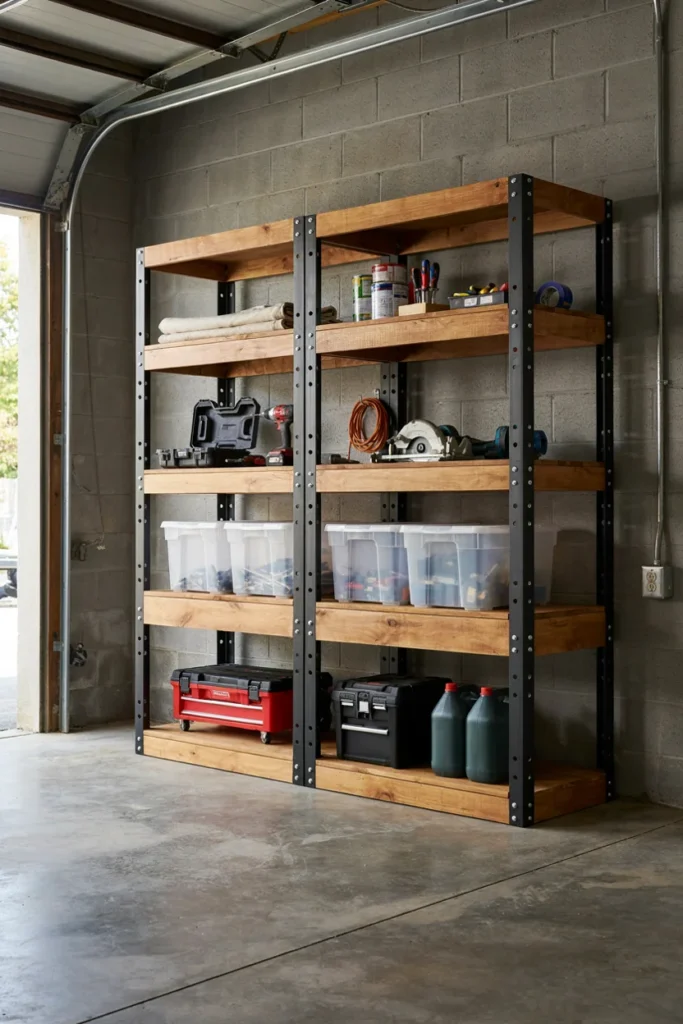
If your garage holds power tools, automotive supplies, heavy containers, or large equipment, heavy-duty shelving is worth considering. These shelves provide the strength needed for bulky items while keeping the floor clear. I find them especially useful in garages where storage needs to handle more than lightweight decorations and small boxes.
You can build a sturdy frame from timber or metal and reinforce each level with strong supports. Make sure the shelf material and brackets can handle the weight you plan to store.
- Use reinforced joints and reliable fasteners.
- Place heavier items on lower shelves.
- Avoid exceeding the shelving system’s weight capacity.
3. Floor-to-Ceiling Storage Shelves
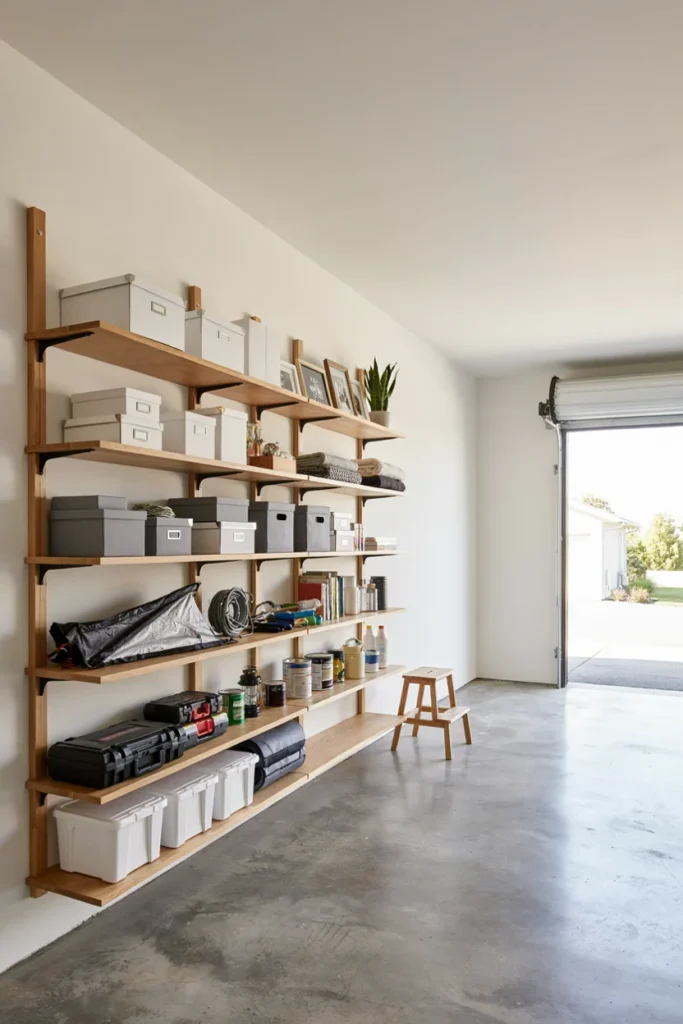
Floor-to-ceiling shelving makes excellent use of vertical space, especially when your garage has limited floor area. Instead of spreading storage across the room, you can build one tall shelving unit that holds tools, seasonal decorations, cleaning products, and household supplies.
I would divide the unit into different sections so every item has a designated place. Keep frequently used belongings at eye level and reserve the upper shelves for things you only need occasionally. Secure tall shelving properly to prevent tipping.
- Measure the ceiling height before building.
- Use adjustable shelf levels where possible.
- Keep a safe step stool nearby for high storage.
4. DIY Corner Garage Shelves
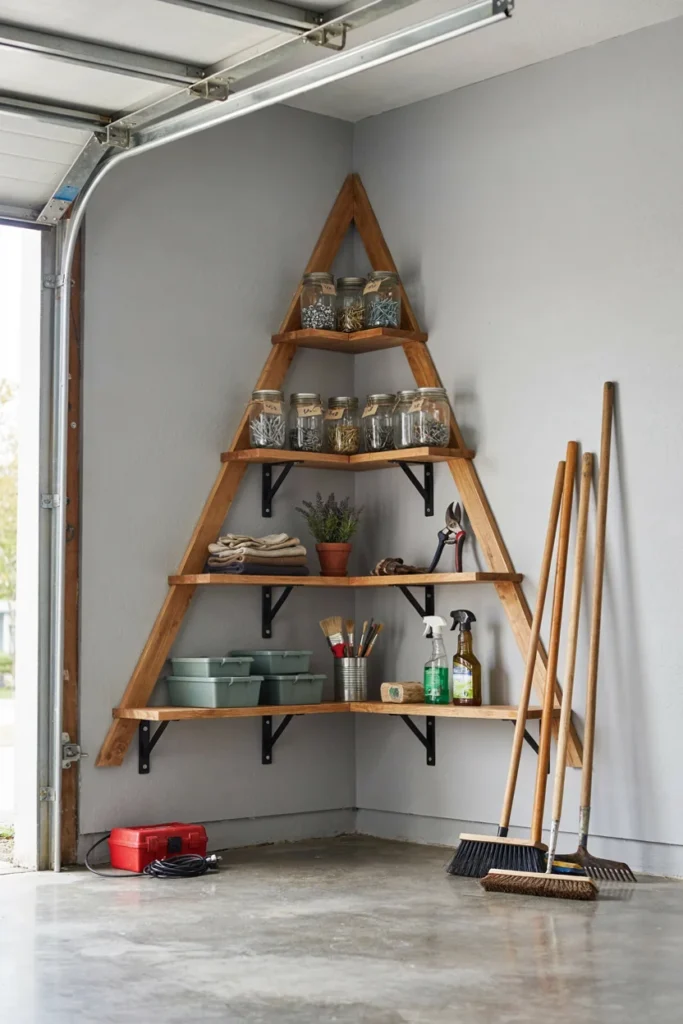
Garage corners often become cluttered because they are difficult to use efficiently. Corner shelves solve that problem by turning awkward spaces into useful storage areas. You can build triangular, L-shaped, or wraparound shelves depending on the size of your garage.
This idea works particularly well for storing small containers, car-care products, gardening tools, and supplies that otherwise end up scattered around the floor. I recommend measuring both walls carefully before cutting the boards so the shelves fit neatly.
- Choose a design that leaves walkways clear.
- Use sturdy corner supports.
- Store smaller items in baskets or bins.
5. Floating Garage Shelves
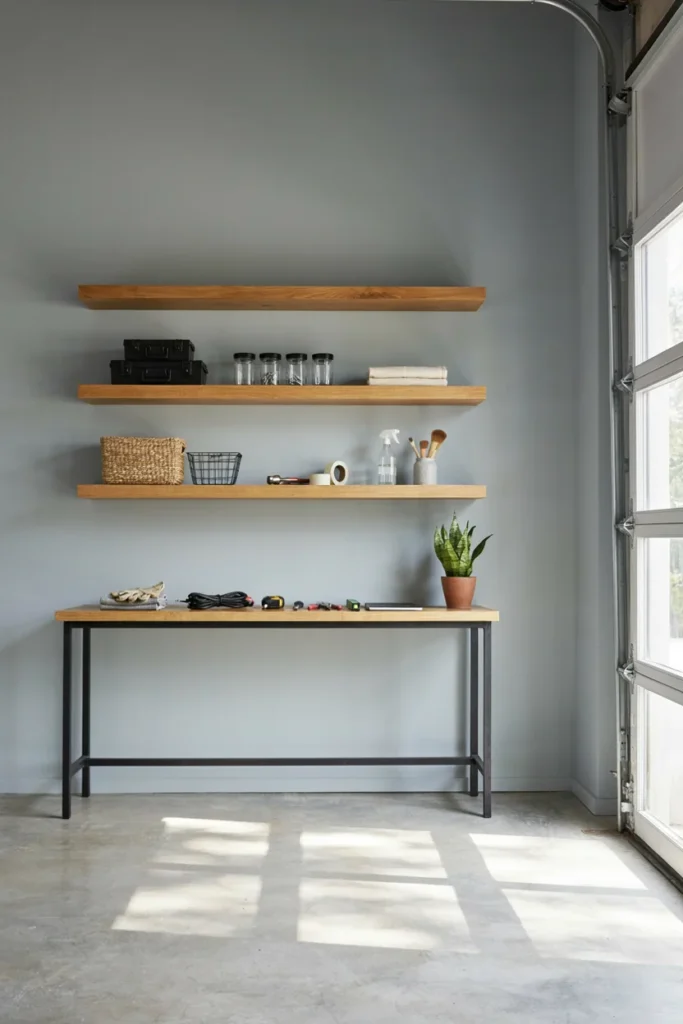
Floating shelves create a clean, streamlined appearance while giving you extra room for storage. They work best for lighter items such as small toolboxes, jars of screws, folded cloths, and neatly arranged containers. Their simple design can also make a garage feel less crowded.
For a practical installation, use strong concealed brackets or a properly secured mounting system. I would avoid placing very heavy equipment on floating shelves unless the structure is specifically designed to support it.
- Mount shelves into suitable structural supports.
- Keep the depth practical for your storage needs.
- Use matching containers for a tidy appearance.
6. DIY Shelving With Storage Bins
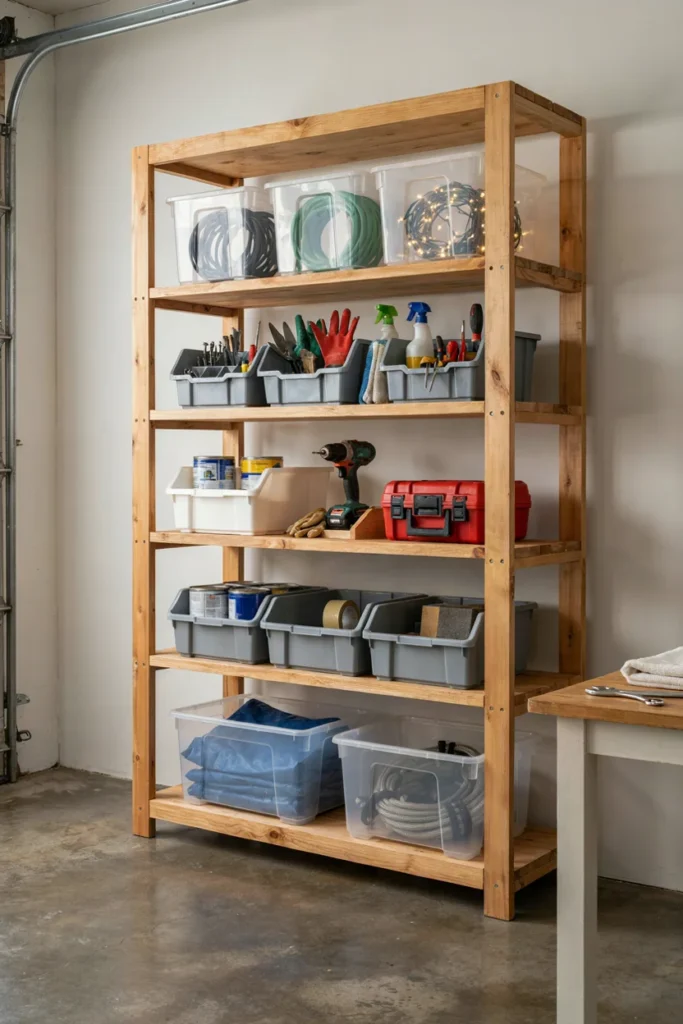
Combining open shelves with storage bins makes garage organization much easier. You can keep frequently used tools on the shelves while placing smaller or less attractive items inside labeled containers. This approach gives everything a dedicated place and prevents loose supplies from taking over your workspace.
I especially like using clear plastic bins because they make it easy to see what’s inside. For a more uniform appearance, choose matching bins and arrange them by category, such as hardware, gardening supplies, holiday decorations, and cleaning products.
- Label each bin clearly.
- Use stackable containers to save space.
- Keep frequently used items on accessible shelves.
7. Overhead Garage Shelving
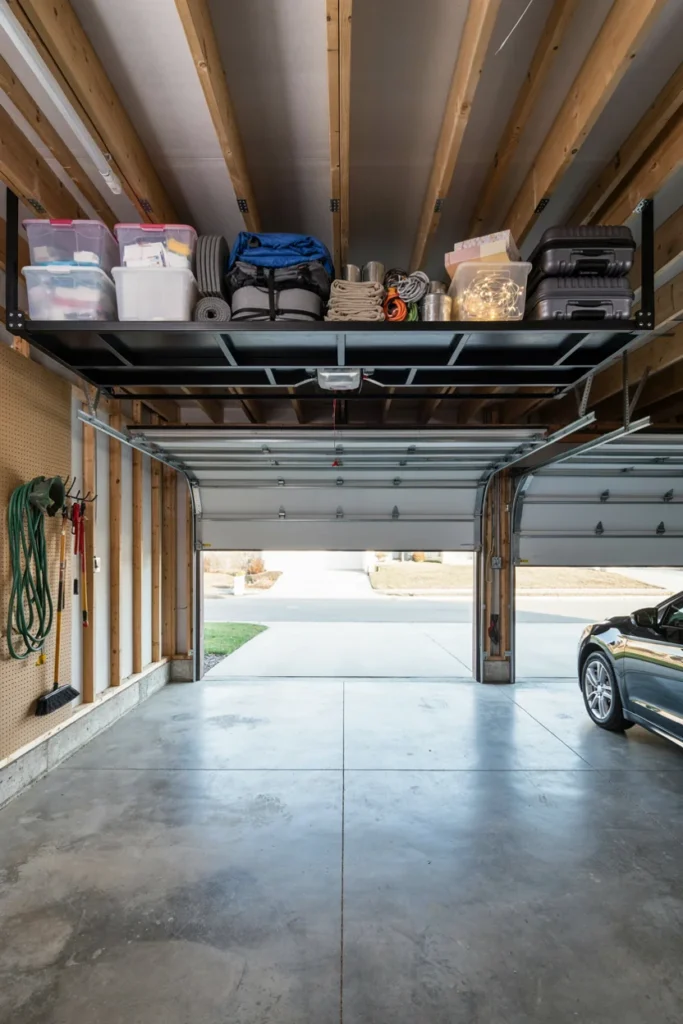
When the garage floor and walls are already full, look upward. Overhead shelving can turn unused ceiling space into valuable storage for seasonal items, camping equipment, luggage, and rarely used household supplies.
This option works best in garages with sufficient ceiling height and a suitable structure for mounting the storage system. I would keep overhead shelves away from garage door movement, lights, and other equipment. Always use a properly engineered mounting system and follow its weight limits.
- Store lightweight or infrequently used items overhead.
- Use sturdy, purpose-built supports.
- Check that the shelves do not interfere with the garage door.
8. DIY Shelves Above the Workbench
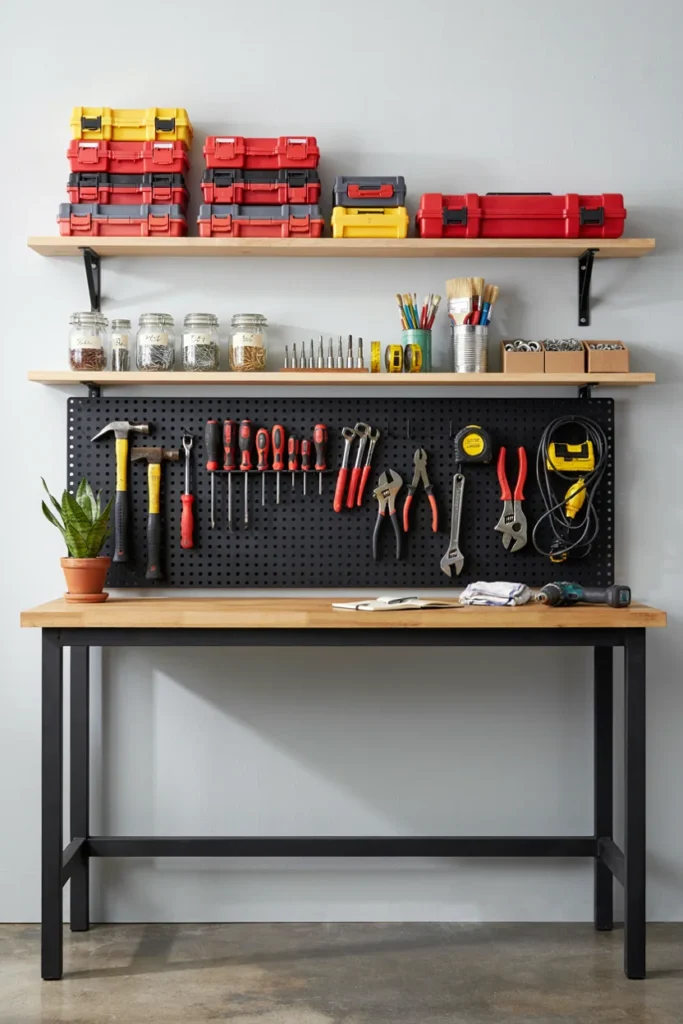
The wall above a workbench is often one of the most useful areas in a garage. Adding shelves there gives you quick access to hand tools, screws, drill bits, adhesives, and other supplies while you work.
I like the idea of combining two or three shelves with a pegboard underneath. This arrangement keeps frequently used tools visible and leaves the workbench clear for projects. Place the shelves high enough to provide comfortable working space without making everyday items difficult to reach.
- Keep heavy objects away from the front edge.
- Store small supplies in labeled containers.
- Leave enough clearance above the work surface.
9. Reclaimed Wood Garage Shelves
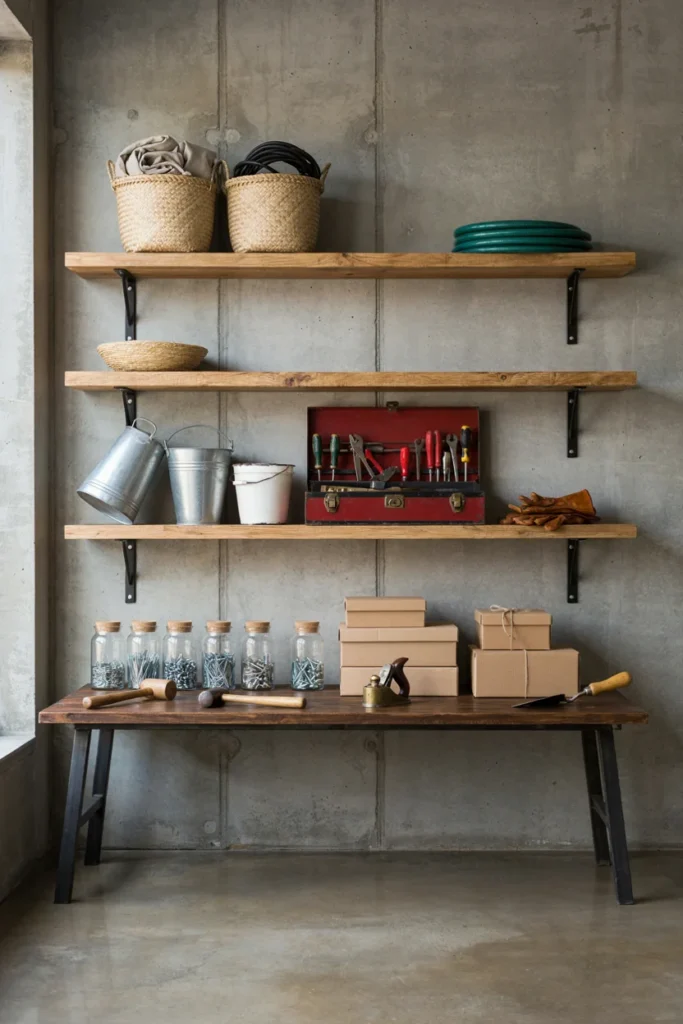
Reclaimed wood can give garage shelving a warm, rustic appearance while making use of materials that might otherwise go to waste. Old boards, salvaged timber, and leftover construction wood can work beautifully for simple storage projects when they are suitable for reuse.
Before building, inspect the wood carefully for rot, cracks, insects, nails, and chemical contamination. Sand rough edges and reinforce the structure with reliable brackets. I would use reclaimed boards for lighter storage unless their strength and condition are known.
- Check every board for damage.
- Remove old nails and sharp hardware.
- Seal or finish the wood if appropriate.
10. Pipe and Wood Industrial Shelving
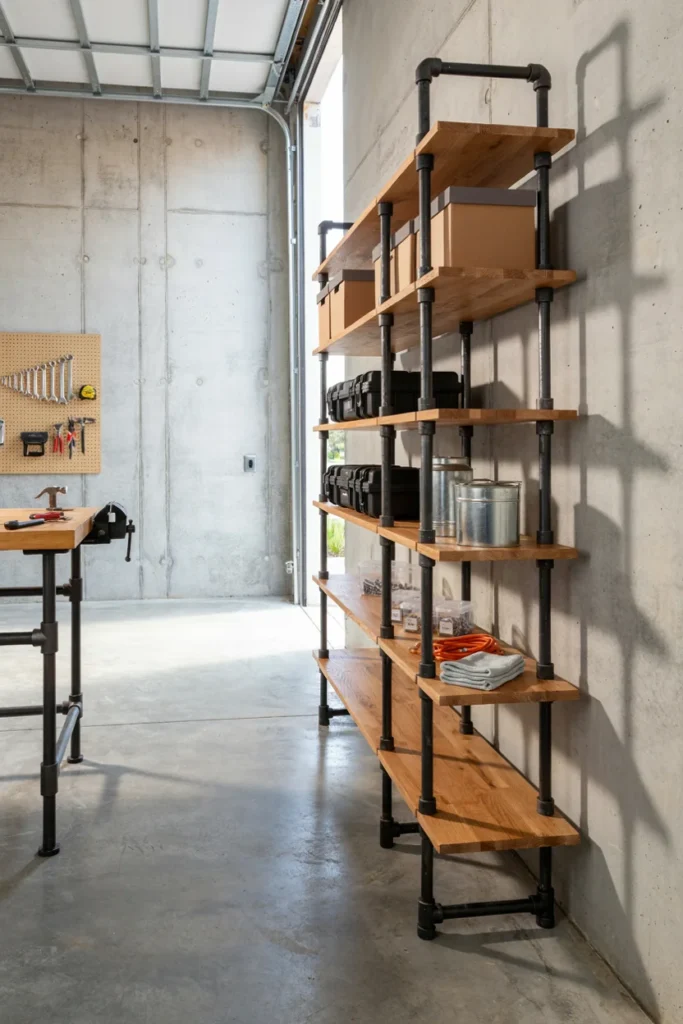
Pipe and wood shelving combines a practical storage system with an industrial-inspired look. Metal pipes create a strong visual frame, while wooden boards provide useful surfaces for boxes, tools, and supplies.
This style can look especially attractive in a garage with exposed brick, concrete walls, or dark metal details. You can build a freestanding unit or attach the structure to a wall, depending on your available space. Use suitable pipe fittings and secure every connection properly.
- Measure the pipe lengths carefully.
- Choose boards that suit the intended load.
- Use proper wall anchors for the mounting surface.
11. DIY Pegboard and Shelf Combination
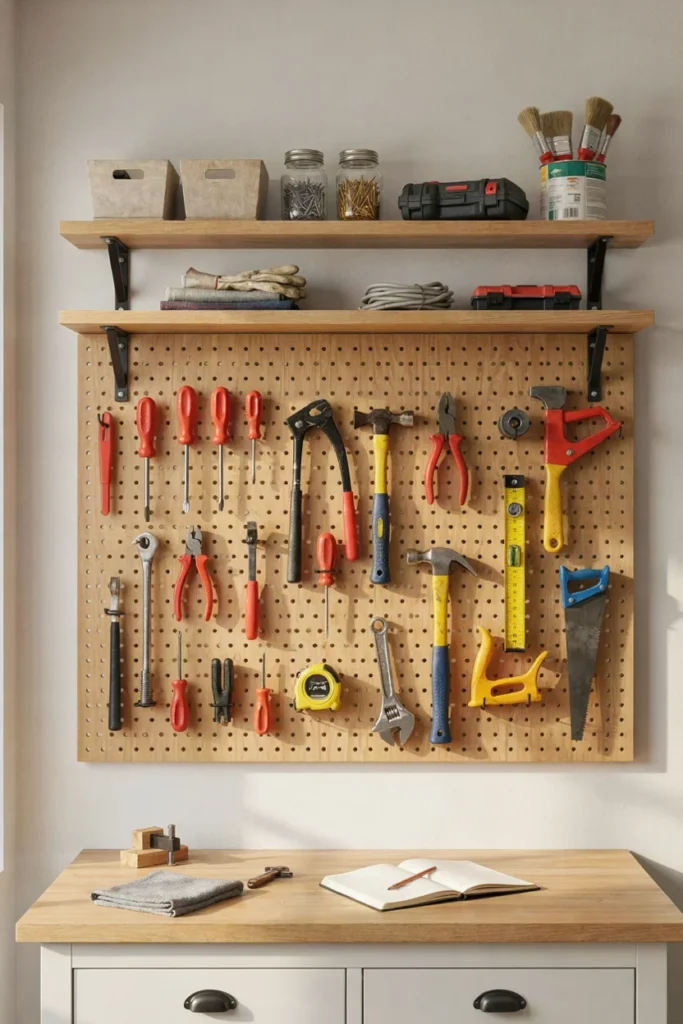
A pegboard and shelf combination gives you two useful storage systems in one compact area. The pegboard holds items such as hammers, screwdrivers, pliers, and measuring tapes, while the shelves provide space for containers and larger supplies.
I find this arrangement helpful because it keeps tools visible instead of hiding them in a crowded drawer. Install the pegboard above a workbench or along an empty wall, then add shelves where they will not interfere with hanging tools.
- Arrange tools according to how often you use them.
- Add hooks and holders that fit your equipment.
- Keep the shelves shallow enough to avoid blocking the pegboard.
12. Narrow Shelving for Small Garages
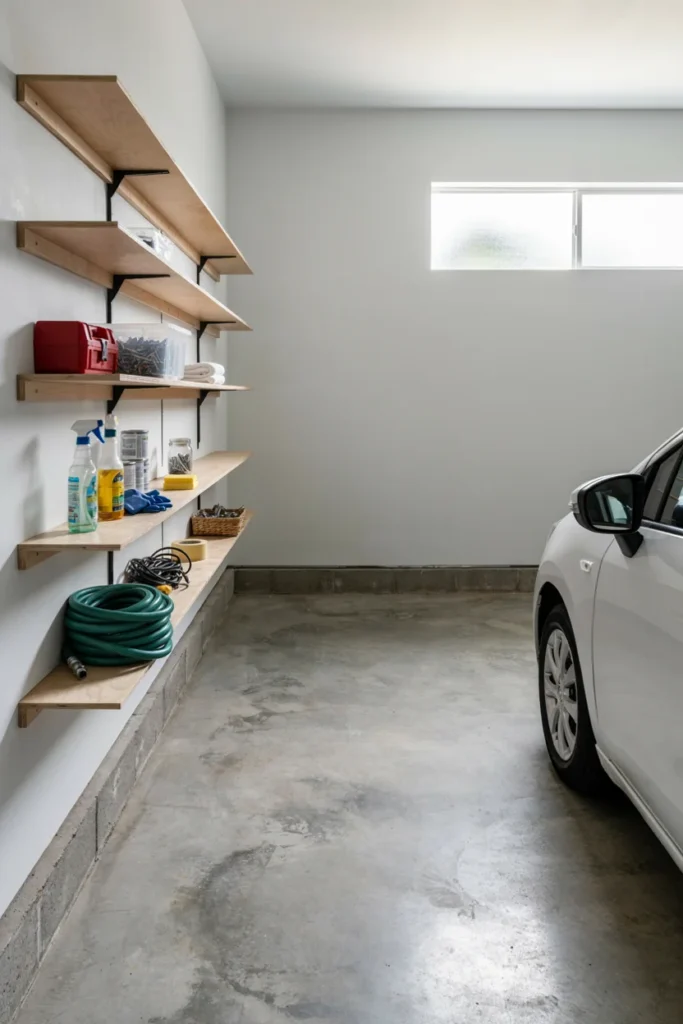
A small garage does not need deep shelving to become more organized. Narrow shelves can fit along unused walls, beside doors, or between larger storage areas without taking over the walking space.
This is one of my favorite approaches for compact garages because it creates storage without making the room feel cramped. Use the shelves for paint supplies, small toolboxes, cleaning products, and neatly labeled bins. Before installing them, check that they leave enough room for vehicles and safe movement.
- Choose a depth that suits your items.
- Keep walkways and vehicle access clear.
- Use vertical space instead of widening the shelves.
13. DIY Ladder-Style Garage Shelves
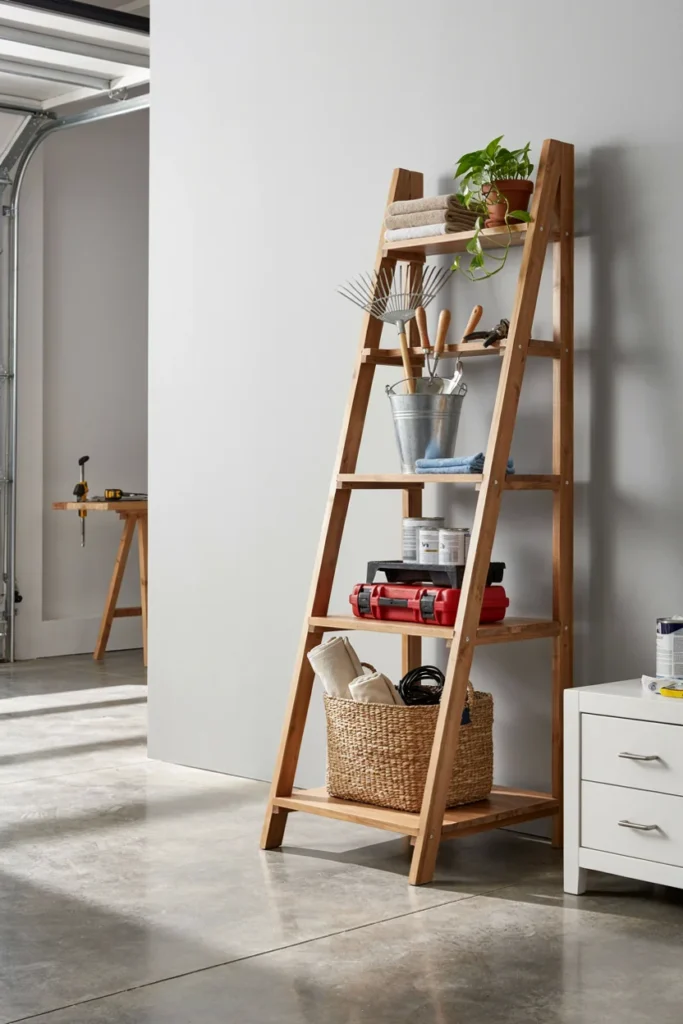
Ladder-style shelving features a simple frame that becomes narrower toward the top or uses angled side supports. Its open design gives the garage a lighter appearance while providing several levels for storage.
You can build this style from timber and customize the width to suit a particular wall. It works well for baskets, small boxes, gardening supplies, and lightweight equipment. I would secure the unit properly, especially if you plan to store items on the upper levels.
- Use a stable base.
- Reinforce the side supports and shelf joints.
- Keep heavier items on the lower levels.
14. Adjustable Garage Shelving
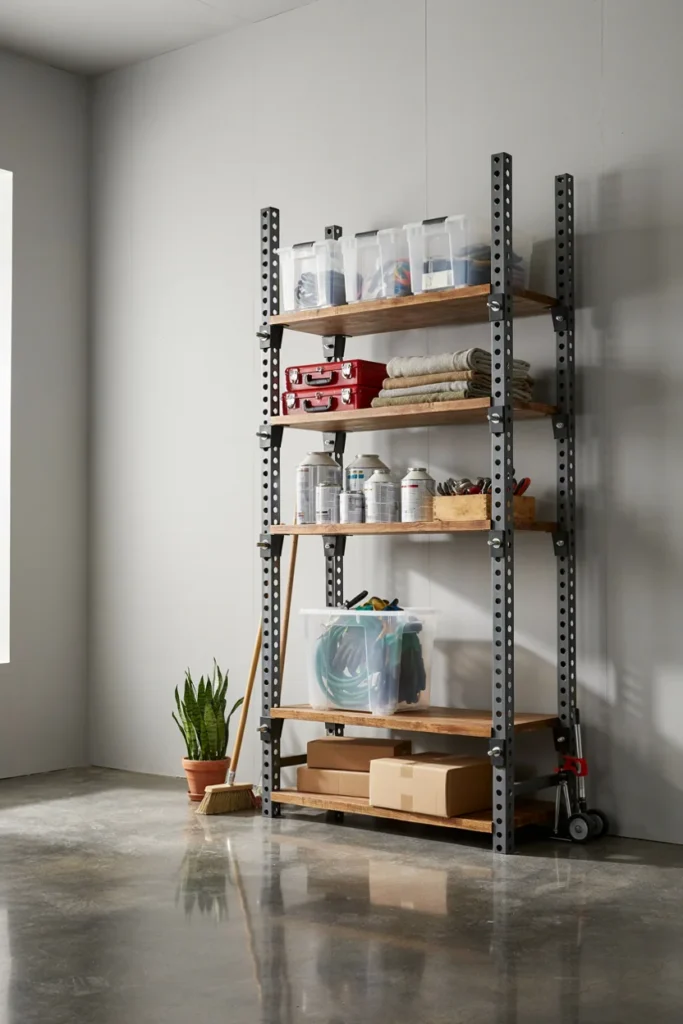
Adjustable shelving makes it easier to change your storage arrangement as your needs develop. Instead of fixing every shelf permanently in place, you can use a system with movable supports or adjustable brackets.
This flexibility is useful when you store items of different heights, such as tool cases, storage boxes, bottles, and equipment. I like this option because it avoids the frustration of rebuilding shelves whenever your storage needs change. Choose a system with reliable locking mechanisms and suitable load ratings.
- Measure your tallest storage containers.
- Leave room for future adjustments.
- Lock every shelf securely before loading it.
15. DIY Shelving Around the Garage Door
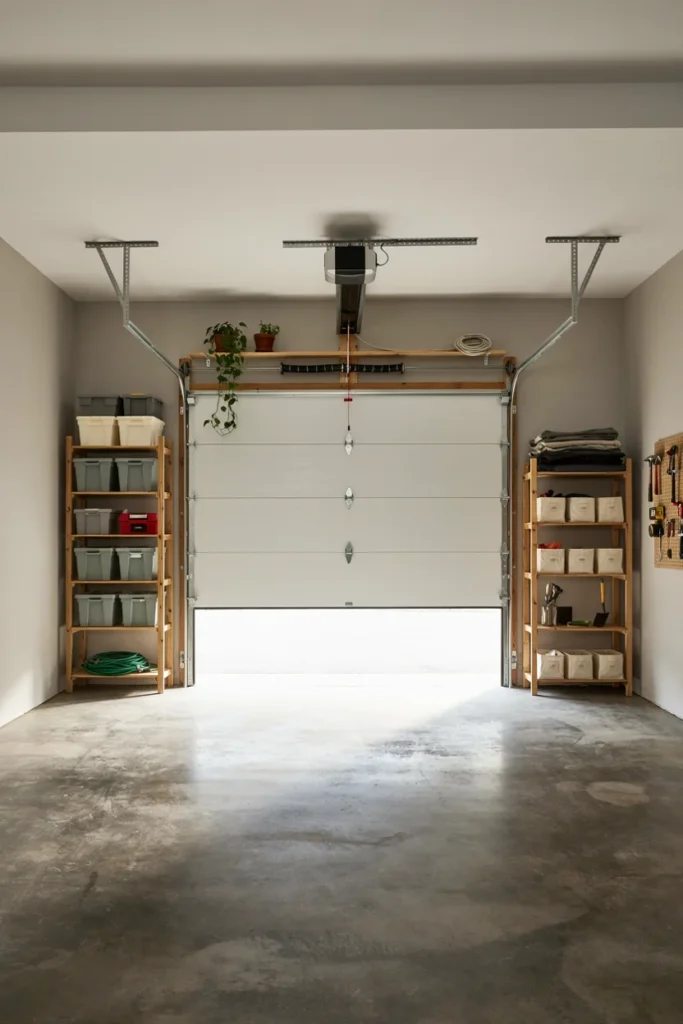
The wall space around a garage door can be difficult to use, but carefully planned shelving can turn it into valuable storage. Narrow units beside the door or shelves above the door opening may work well when they do not interfere with the door’s movement.
This idea requires more planning than a standard wall shelf. I would measure the full door travel, tracks, springs, and surrounding clearance before building anything. Keep storage away from moving components and follow the door manufacturer’s safety requirements.
- Never obstruct the door’s operating mechanism.
- Keep shelves clear of tracks and springs.
- Use narrow units where space is limited.
16. Heavy-Duty Plywood Garage Shelves
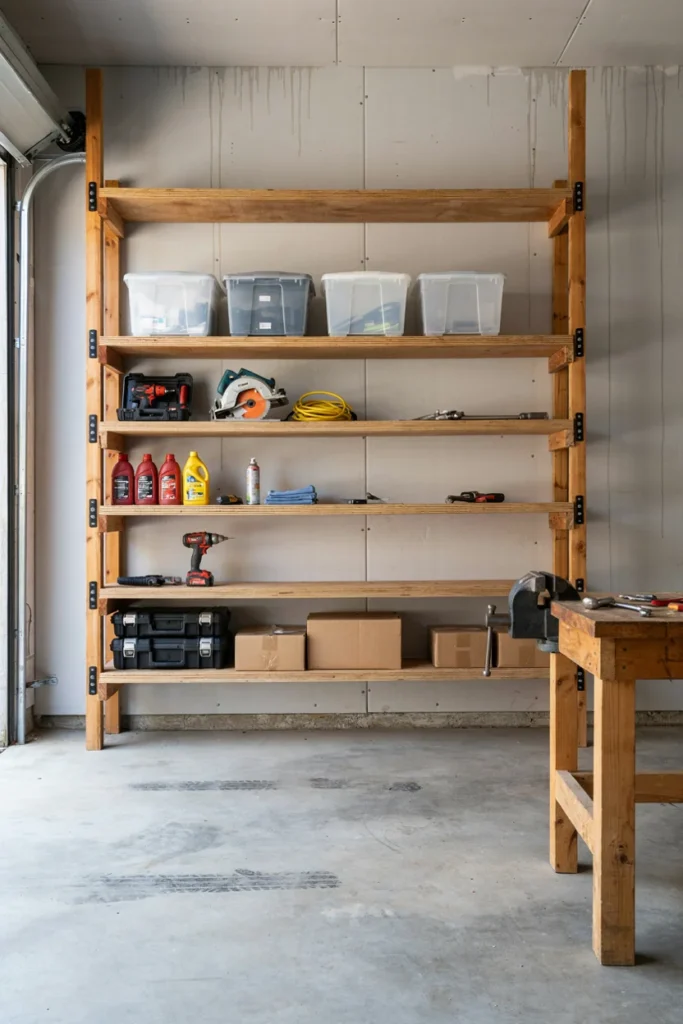
Plywood is a practical material for DIY garage shelving because it is available in different thicknesses and can be cut to suit your space. When you choose an appropriate grade and support it correctly, plywood can create strong, useful shelves for boxes, tools, and household supplies.
I recommend using quality plywood with a suitable thickness for the expected load. Add support beneath longer shelves to reduce sagging. Sand the edges and finish the surface if you want a cleaner appearance.
- Select plywood according to the intended use.
- Reinforce long spans with additional supports.
- Protect the surface from moisture when necessary.
17. DIY Shelves With Built-In Tool Storage
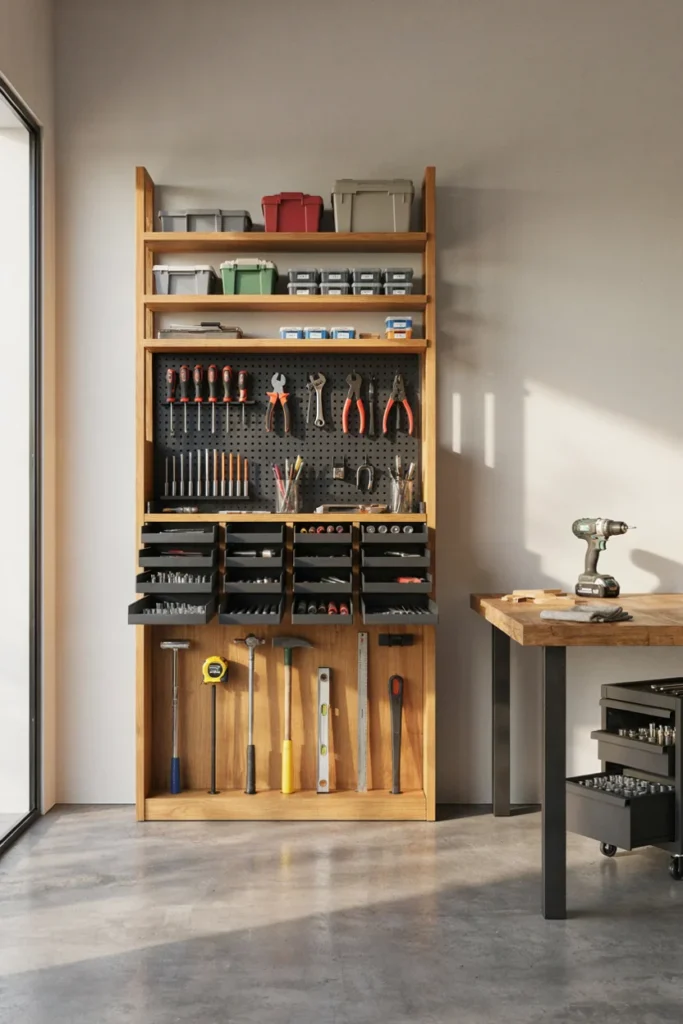
Shelves with built-in tool storage help you combine open storage with dedicated spaces for equipment. You can add small drawers, tool slots, hooks, or compartments beneath the shelves to keep everything organized.
I find this approach especially useful for people who regularly work on home repairs, woodworking, or automotive projects. Instead of placing every tool in a large box, you can give frequently used equipment its own location. Plan the compartments around the tools you actually own.
- Add slots for long-handled tools.
- Use drawers for screws and small hardware.
- Keep frequently used tools within easy reach.
18. Garage Shelves With Sliding Storage Bins
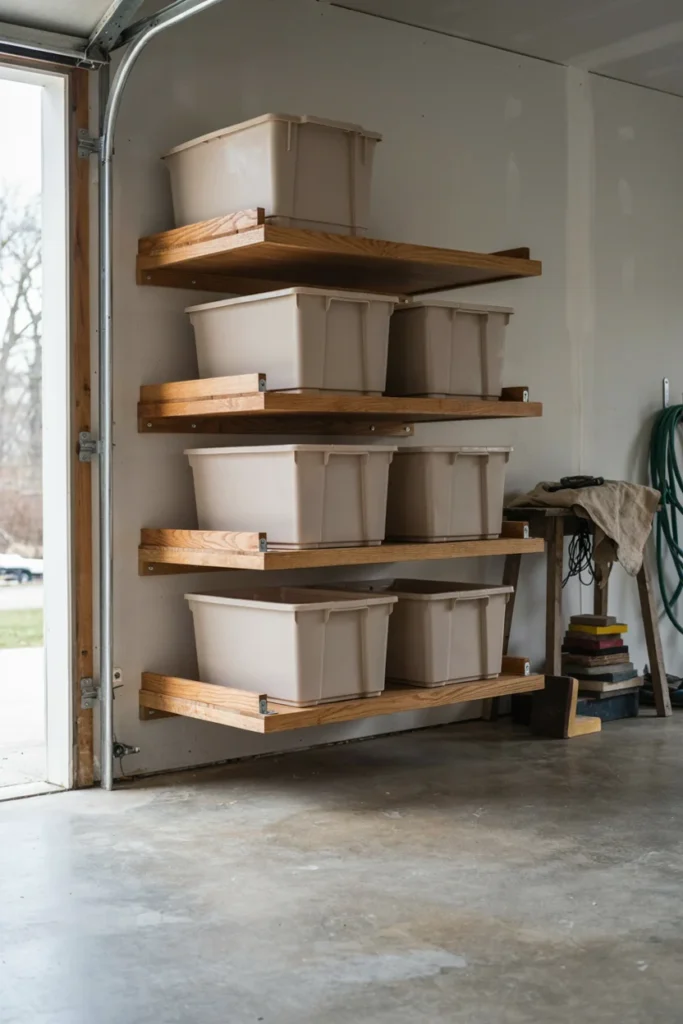
Sliding storage bins make deep shelving more convenient because you can pull the containers forward instead of reaching into the back. This is a smart way to use the full depth of a shelf while keeping smaller items accessible.
You can build simple sliding platforms or use suitable drawer slides designed for the expected load. I would reserve this arrangement for shelves that can support the combined weight of the bins and their contents. Label each container so you can find supplies quickly.
- Choose slides with an appropriate weight rating.
- Avoid overloading the bins.
- Leave enough clearance for smooth movement.
19. DIY Shelving for Sports Equipment
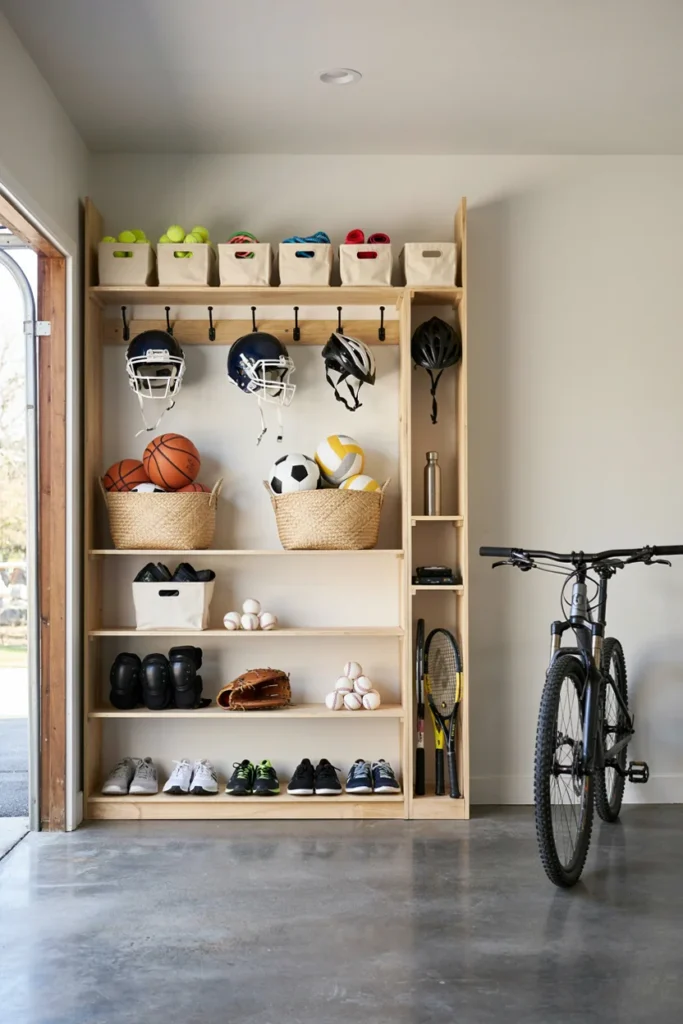
Sports equipment can quickly fill a garage because balls, helmets, bats, bicycles, and protective gear come in different shapes and sizes. Dedicated shelving helps bring order to this collection while keeping equipment easy to access.
You can combine open shelves with baskets, hooks, and vertical storage sections. I like using separate areas for cycling gear, outdoor games, and seasonal equipment. Store heavier items low and keep delicate equipment away from sharp edges or crowded shelves.
- Use baskets for balls and small accessories.
- Add hooks for helmets and protective gear.
- Keep frequently used equipment at accessible heights.
20. DIY Garage Shelving From Pallets
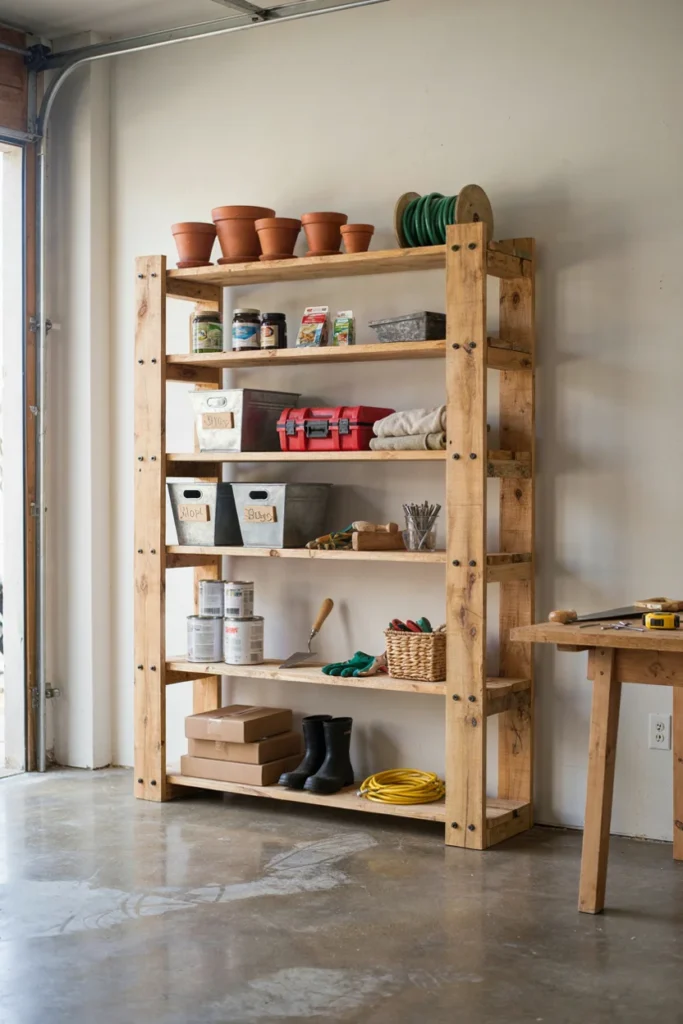
Wooden pallets can inspire an inexpensive garage shelving project, particularly if you already have suitable pallets available. You can adapt them into wall-mounted storage, simple rack systems, or compact shelving units for lightweight supplies.
However, not every pallet is suitable for indoor storage. Inspect the wood carefully and check its markings and history. Avoid pallets with unknown chemical exposure, contamination, severe damage, or signs of pests. Reinforce the structure and secure it properly before use.
- Use clean, undamaged pallets from a reliable source.
- Sand rough surfaces and remove protruding nails.
- Confirm that the design can support the intended load.
21. Custom Shelving for Awkward Garage Spaces
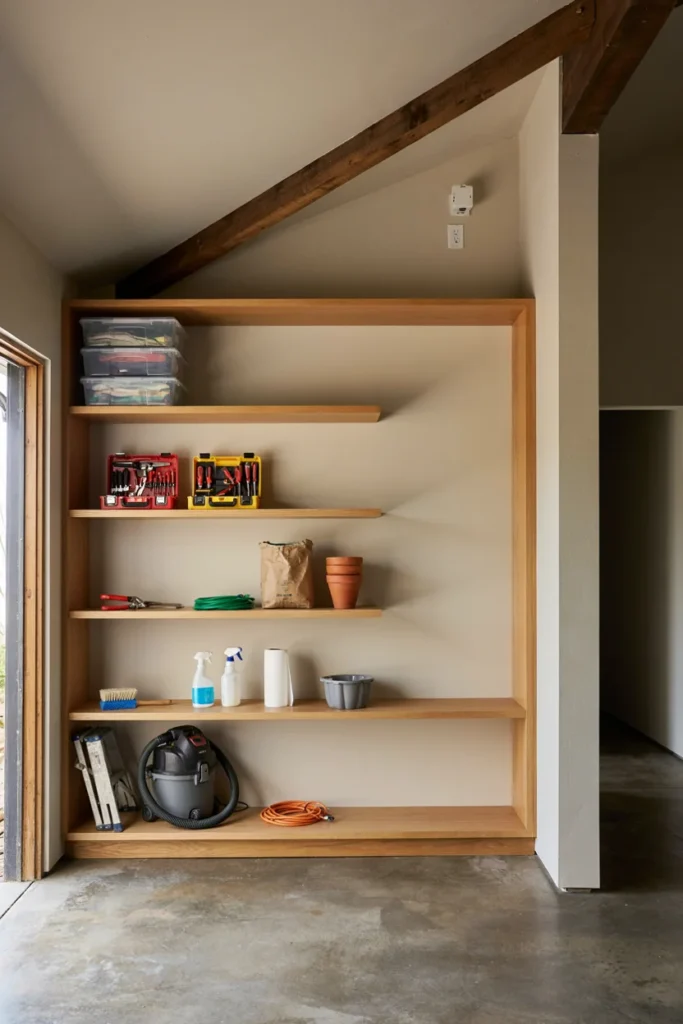
Every garage has areas that seem difficult to organize, such as narrow gaps, sloped ceilings, spaces beneath stairs, or walls interrupted by pipes and utility equipment. Custom shelving allows you to design storage around these obstacles instead of wasting the available space.
I would begin by measuring the awkward area carefully and identifying anything that must remain accessible. Then, create a shelving layout that fits the space without blocking ventilation, electrical panels, or essential equipment. Even a small custom unit can make a noticeable difference.
- Measure irregular walls and ceiling heights.
- Keep utility access points unobstructed.
- Build around the space instead of forcing a standard unit into it.
How to Choose the Right DIY Garage Shelving
The best garage shelving depends on what you store, how much space you have, and how often you need to access your belongings. A narrow shelf may work perfectly for cleaning supplies, while heavy equipment may require a reinforced storage system.
Before starting your project, consider these points:
- Available space: Measure wall width, ceiling height, and walking areas.
- Storage needs: List the largest and heaviest items you want to store.
- Accessibility: Keep everyday tools within easy reach.
- Budget: Compare the cost of wood, brackets, hardware, and finishing materials.
- Flexibility: Choose adjustable shelves if your storage needs change frequently.
- Safety: Plan around garage doors, electrical equipment, and other hazards.
A simple sketch can help you decide how many shelves you need and where each one should go.
Best Materials for DIY Garage Shelves
The right material affects the strength, appearance, and lifespan of your shelving. Choose materials according to the expected weight, garage conditions, and type of installation.
1. Plywood
Plywood is versatile and easy to cut into different shelf sizes. It works well for many DIY projects when you choose an appropriate thickness and provide enough support.
2. Solid Wood
Solid wood gives shelves a natural appearance and can work well for light- to medium-duty storage. Strong timber and properly constructed joints are important for heavier loads.
3. Metal
Steel shelving components offer strength and durability for demanding storage needs. Metal brackets, frames, and supports are useful for tools, equipment, and heavy containers.
4. Reclaimed Wood
Reclaimed wood can create an attractive rustic look, but inspect it carefully before use. Avoid damaged, contaminated, or chemically treated materials of uncertain origin.
5. PVC or Plastic Components
Plastic storage shelves and bins can be useful for lightweight items and areas where moisture may be a concern. Check their load limits before placing heavy objects on them.
Tips for Making Garage Shelving Safe and Sturdy
A well-organized garage should also be a safe one. Even a simple shelf needs proper support, suitable materials, and careful installation.
Here are a few important tips:
- Secure wall-mounted shelves: Attach brackets to suitable structural supports using appropriate fasteners.
- Distribute weight evenly: Avoid placing all heavy items on one side of a shelf.
- Reinforce long shelves: Add central supports to help prevent sagging.
- Anchor tall units: Secure freestanding shelving to reduce the risk of tipping.
- Check hardware: Inspect screws, brackets, joints, and supports regularly.
- Protect against moisture: Use suitable finishes and avoid storing vulnerable materials in damp areas.
- Keep heavy items low: Place bulky equipment on lower shelves whenever possible.
- Maintain clear access: Do not block doors, electrical panels, ventilation, or garage equipment.
- Follow manufacturer instructions: Use the specified hardware and stay within the stated weight limits.
If you are unsure whether a wall or ceiling can support a shelving system, consult a qualified professional before installing it.
How to Keep Garage Shelves Organized
Building shelves is only the first step. A simple organization system helps you maintain the space and prevents clutter from returning.
I like grouping items by purpose rather than placing everything wherever there is room. For example, keep gardening supplies together, store automotive products in one area, and place seasonal decorations in clearly labeled containers.
Try these practical habits:
- Label bins and boxes clearly.
- Keep everyday items at eye level.
- Store rarely used belongings higher up.
- Use baskets for small loose supplies.
- Leave some space between items.
- Return tools to their designated places after use.
- Review your shelves every few months and remove things you no longer need.
A little consistency can make your garage much easier to use.
Frequently Asked Questions
What is the easiest DIY garage shelving to build?
Simple wall-mounted wooden shelves are among the easiest DIY garage shelving projects. They require basic materials, brackets, measuring tools, and suitable wall fasteners.
What is the best material for garage shelves?
Plywood, solid wood, and metal are popular choices. The best material depends on the shelf design, expected weight, garage conditions, and available budget.
How deep should garage shelves be?
Many garage shelves work well at approximately 12 to 24 inches deep, depending on what you plan to store. Choose a depth that provides useful storage without blocking walkways.
How do you make garage shelves strong enough for heavy items?
Use suitable shelf materials, strong supports, secure connections, and proper wall or floor anchoring. Reinforce long shelves and follow the shelving system’s weight limits.
How can you maximize storage in a small garage?
Use vertical shelving, narrow wall-mounted units, corner shelves, overhead storage where appropriate, and labeled bins. Keep the floor and vehicle access areas clear.
Final Thoughts
A well-planned shelving system can make your garage feel more spacious, organized, and practical. You do not need to build an elaborate storage wall to make a difference. Start with one unused corner, an empty wall, or the space above your workbench, then choose a design that suits your needs.
From simple wooden shelves to custom storage for awkward spaces, these DIY garage shelving ideas can help you make better use of every inch. With the right materials, careful installation, and a little organization, your garage can become a space that works much harder for you.